Pumpkin Spice Makeup Tutorial!

I wanted to do a look using the Jaclyn Hill Morphe palette for Fall! I get a lot of comments and messages asking to do a look using the shades in this palette because so many people own it and love it! The hype is real, I’m obsessed with mine and use it on a daily basis. It has the perfect array of neutrals and bright colors.

Warm-toned smokey eyes are my favorite to create because they give your eyes definition, without being too intense. There is something about combining these matte shades of brown, orange, red, and yellow that translates as “more natural” than the traditional silver and black smokey eyes. I would personally wear this eye look during the daytime, but I think it would look great for nighttime too! You could even go extra glam by adding some gold glitter onto the center of the lid, falsies and a more intense winged eyeliner!

  1. I always start off by priming my eyelids with the Urban Decay Primer Potion in “Eden” to cancel out any redness and conceal veins. This will also prevent your eyeshadow from creasing throughout the day and allow the shades to appear more vibrant. I apply a light amount of translucent setting powder over the lids to help the shadows we place on top to blend easier!
  2. I always use a matte, light brown eyeshadow in my crease. Even when I’m rushing, I will still blend a little of my bronzer to lightly define the shape of my eyes. I applied “Silk Creme” in windshield wiping motions with a fluffy blending brush. With the same brush, I buffed “Butter” right underneath to add a layer of dimension.
  3. I took the color “Pukey” on a more precise blending brush and concentrated the color on my outer V. I made sure to blend it into the two other shades in my crease, but tried to focus it mainly on my outer corner to create a cat eye effect.
  4. “Hunts” is one of my favorite shades in this entire palette! On a tapered blending brush, I brought this color on the outer third of my eye.
  5. I used “Creamsicle” as my lid shade! I was so afraid of using a true yellow color on my eyes, but I think this one is actually super wearable and flattering! Taking a flat shader brush, I pressed this color on the inner third of my eye and lightly blended it with a clean, fluffy brush into the middle section for a seamless transition into “Hunts.”
  6. On a detailed blending brush, I patted “Jacz” on the outer edge in a V shape. I made sure to keep this darker color lower on the eyelid and didn’t bring it up too much into the crease.
  7. I drew my standard winged eyeliner and then decided that the look wasn’t as dramatic as I liked, so I took “Chip” on a precise angled brush and patted it on the outer edge, layering it close to the winged eyeliner. I took another clean blending brush and lightly buffed it into the rest of my outer crease colors.
  8. I just used some regular mascara for my lashes, but I think this would’ve looked amazing with falsies! My favorite are the Ardell Demi-Wispies Natural and I love the House of Lashes glue!
  9. On my lower lash line, I blended “Pukey” and “Jacz” and added “Chip” only on the outer edge for a gradient, eye-opening effect.

I circled the shades I used in the palette, just in case you didn’t know them by name and accidentally threw away the plastic insert that labeled them!

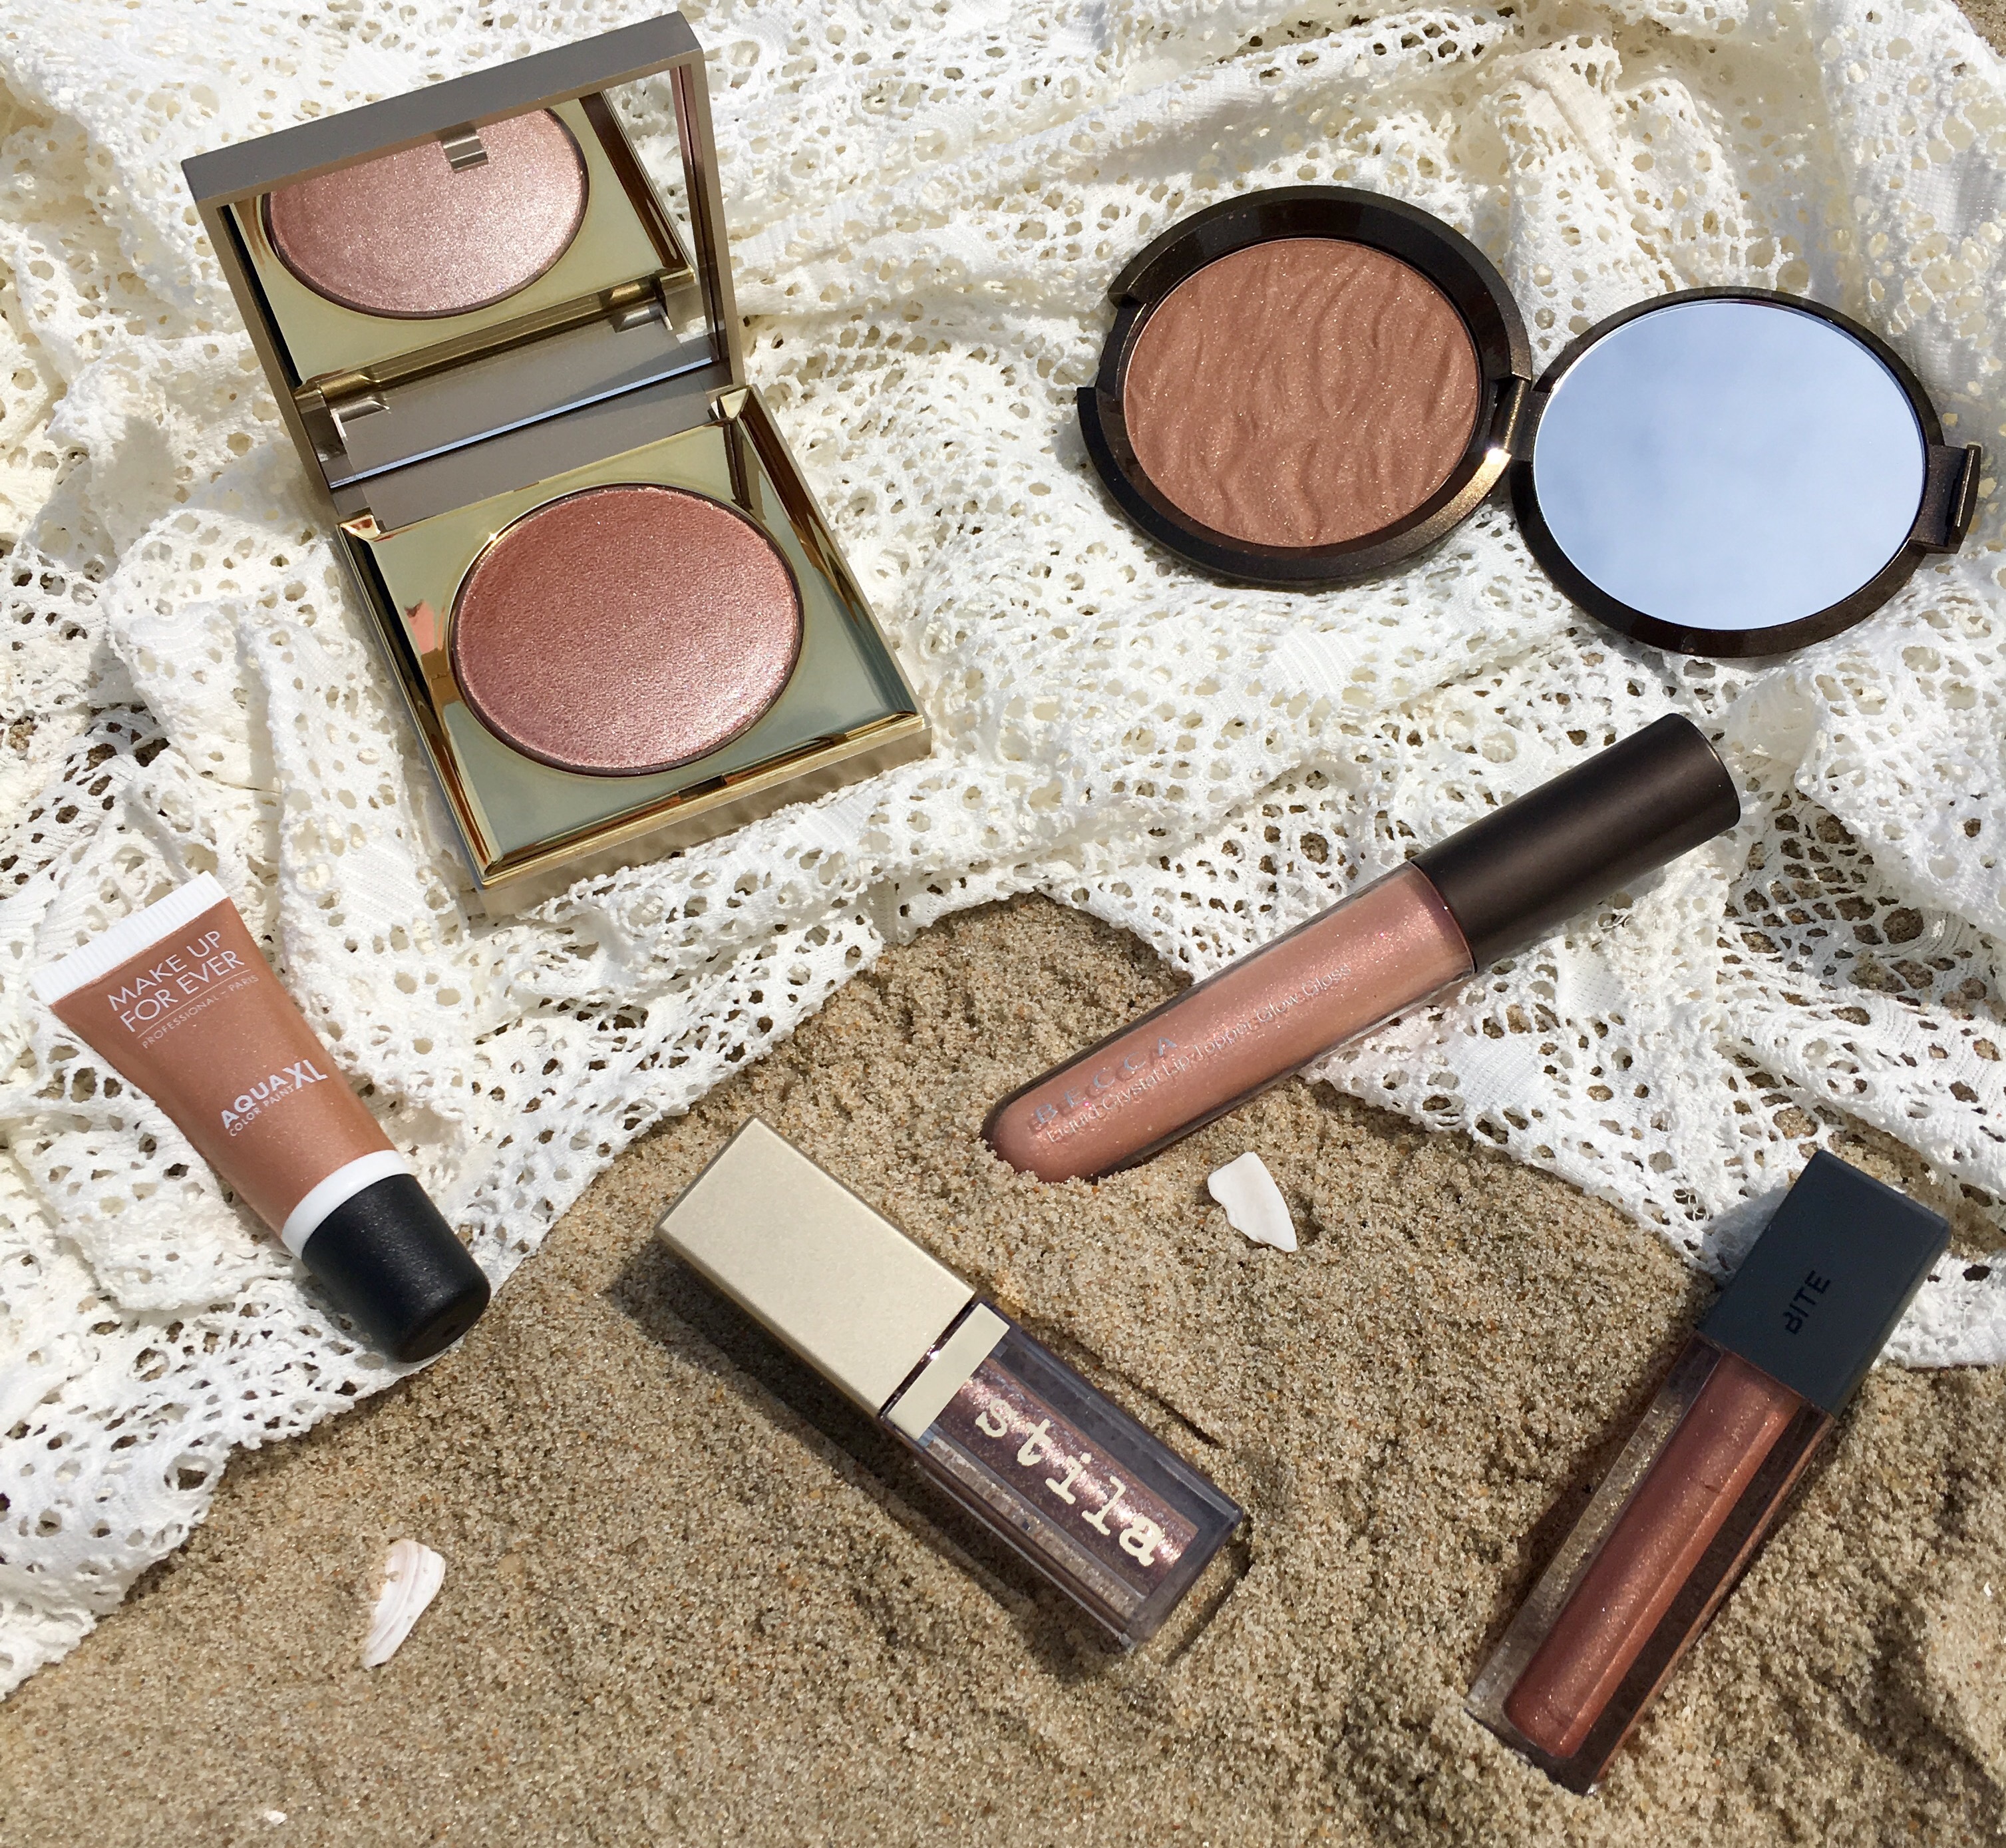
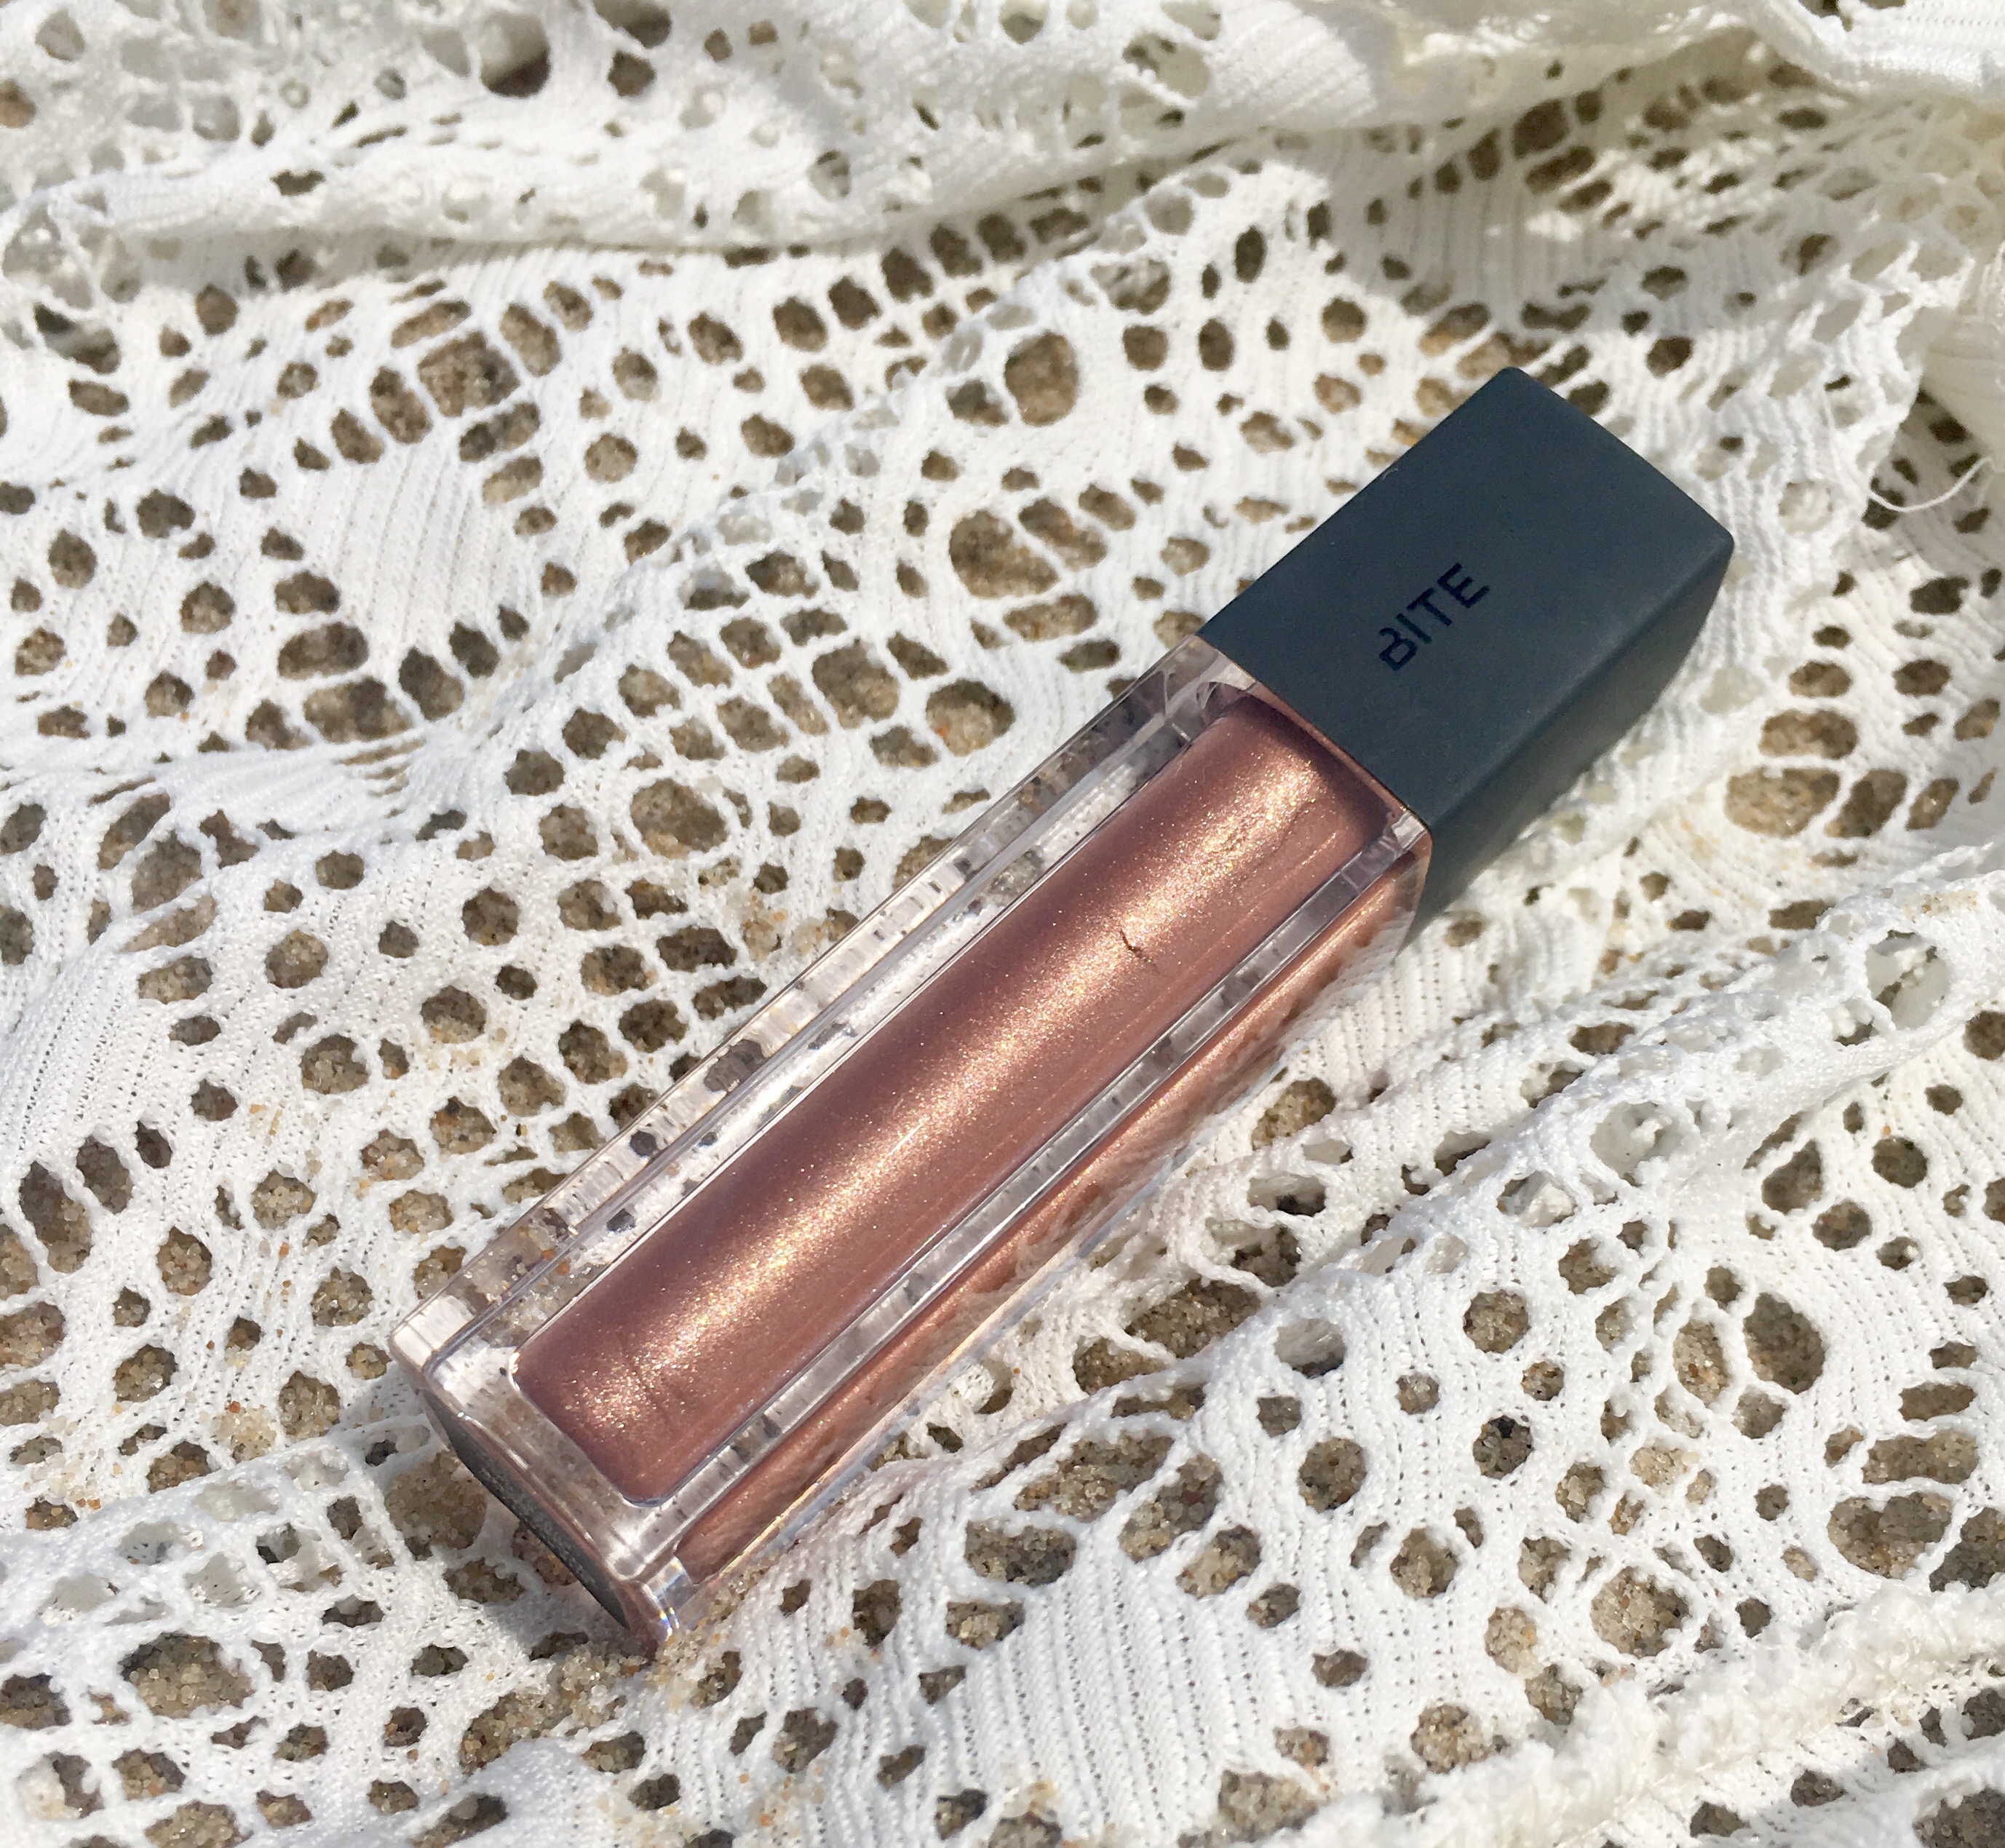
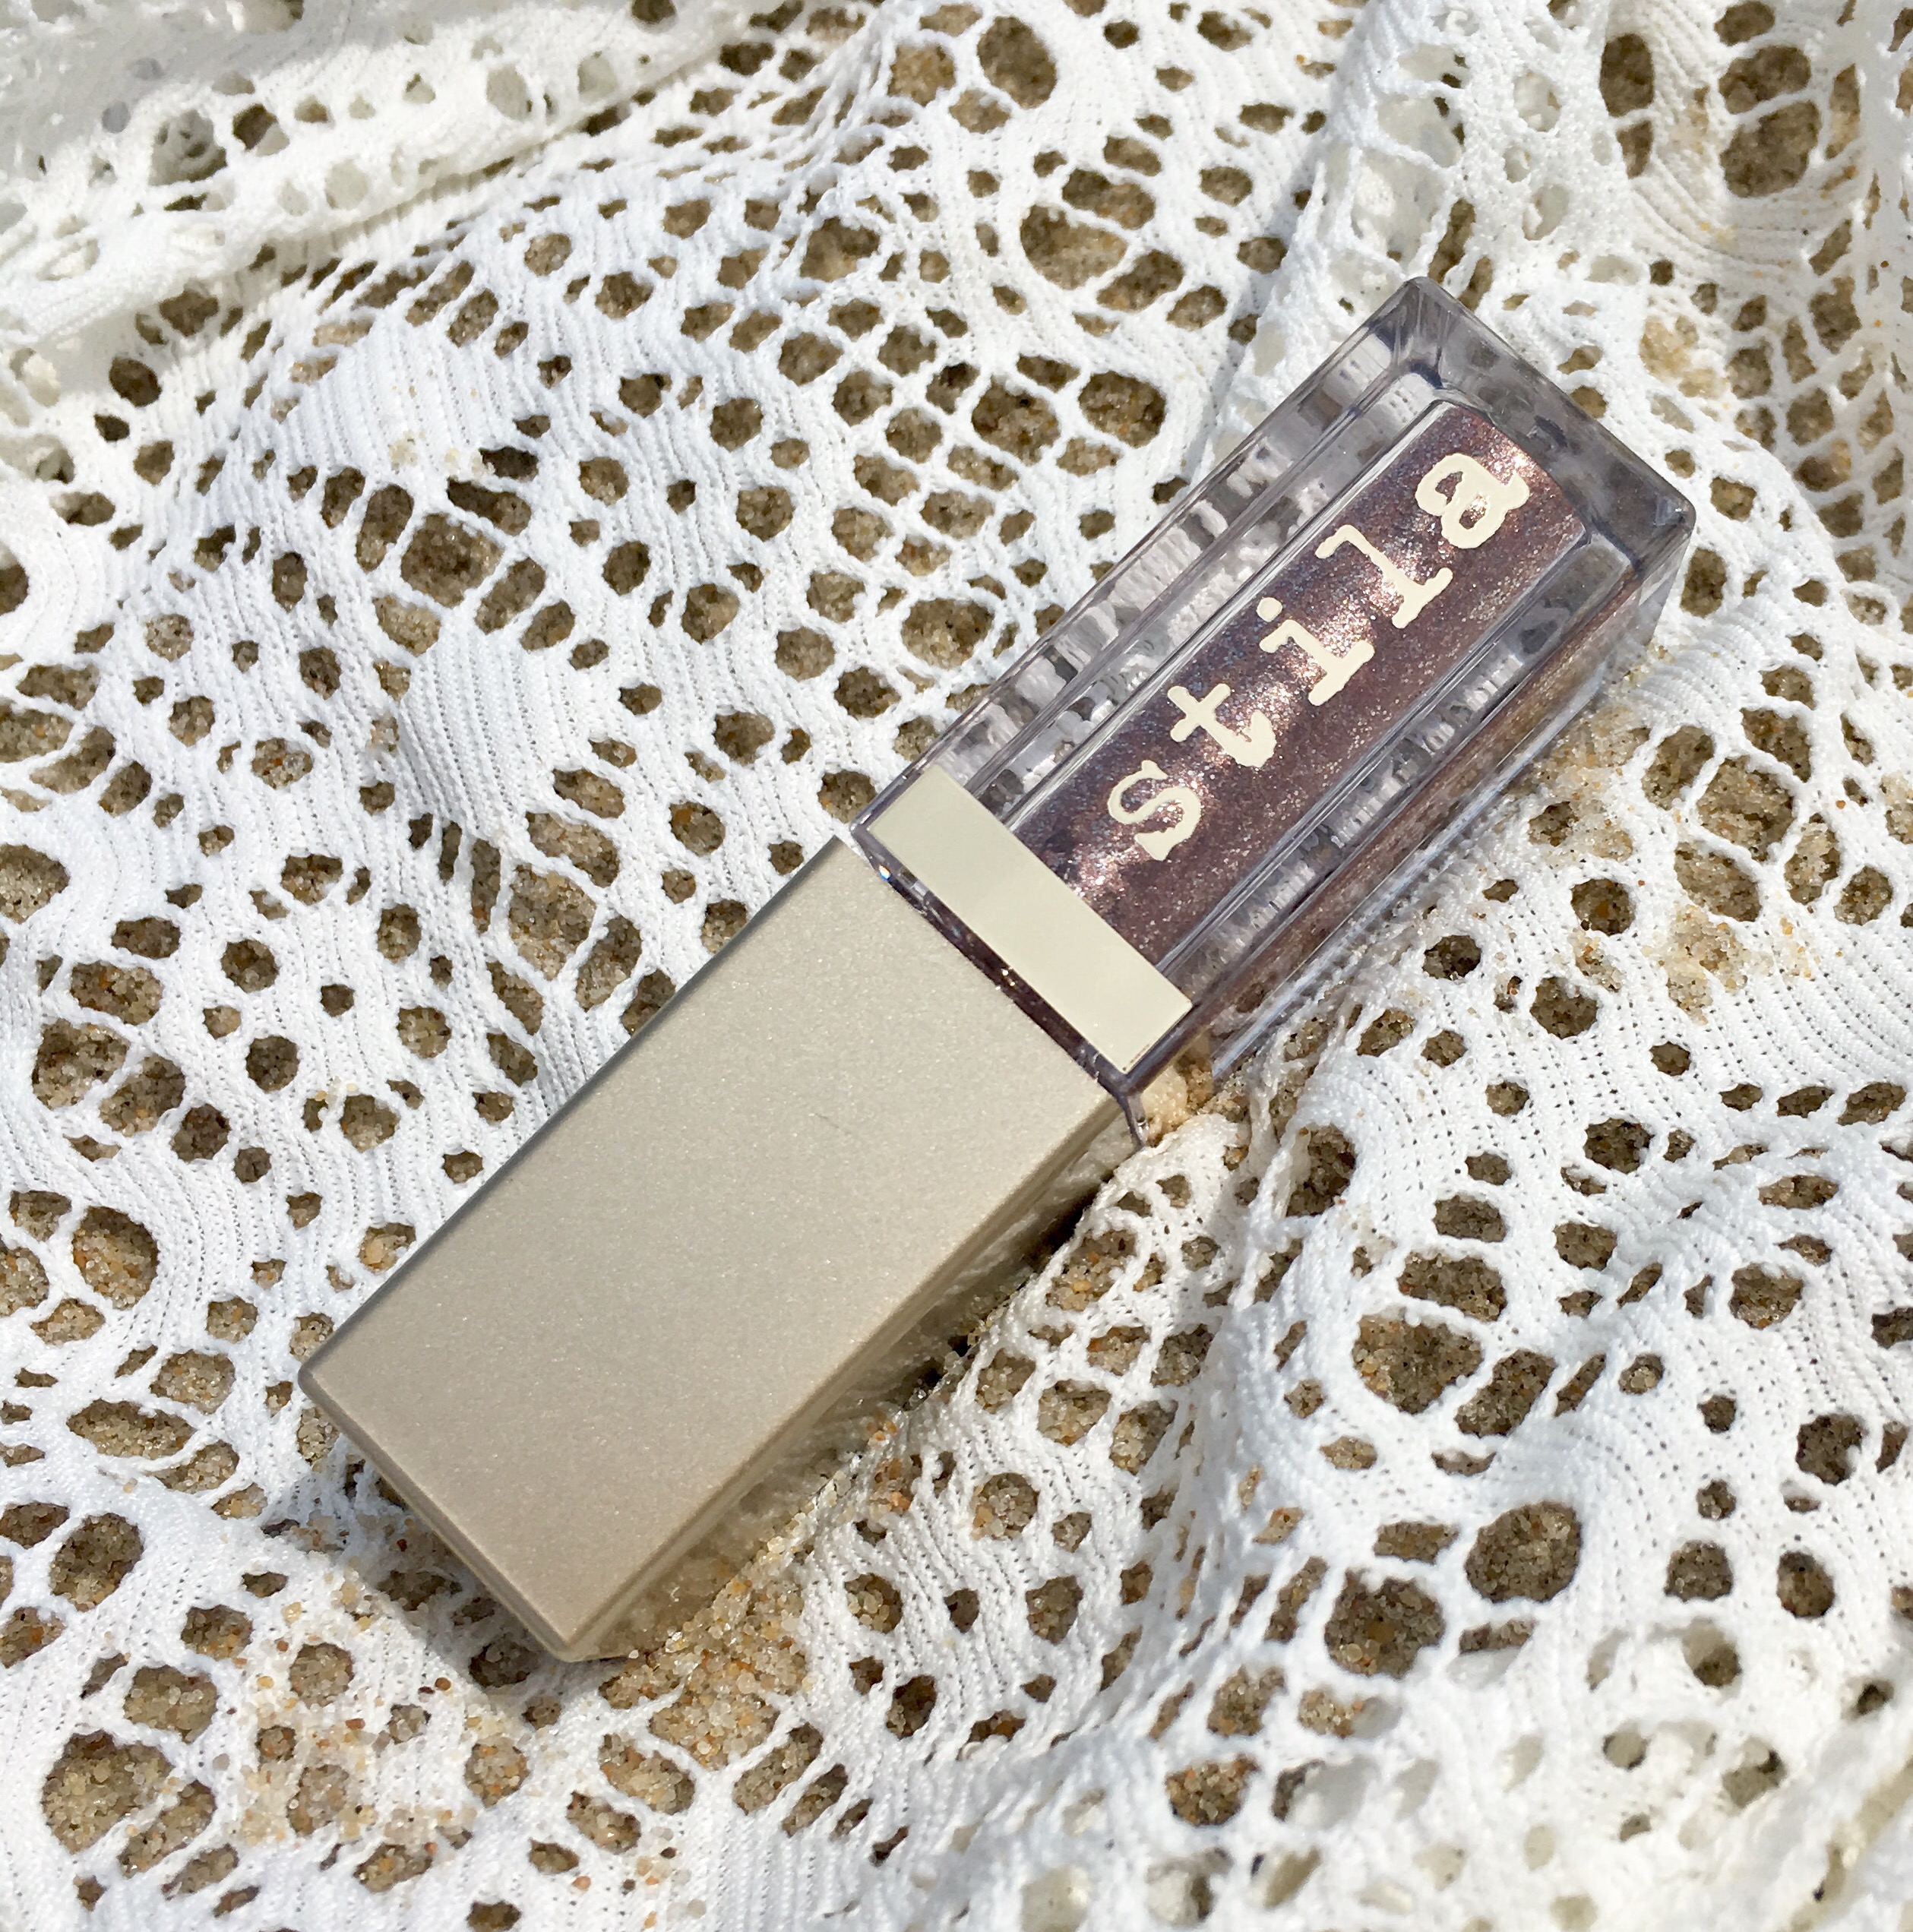
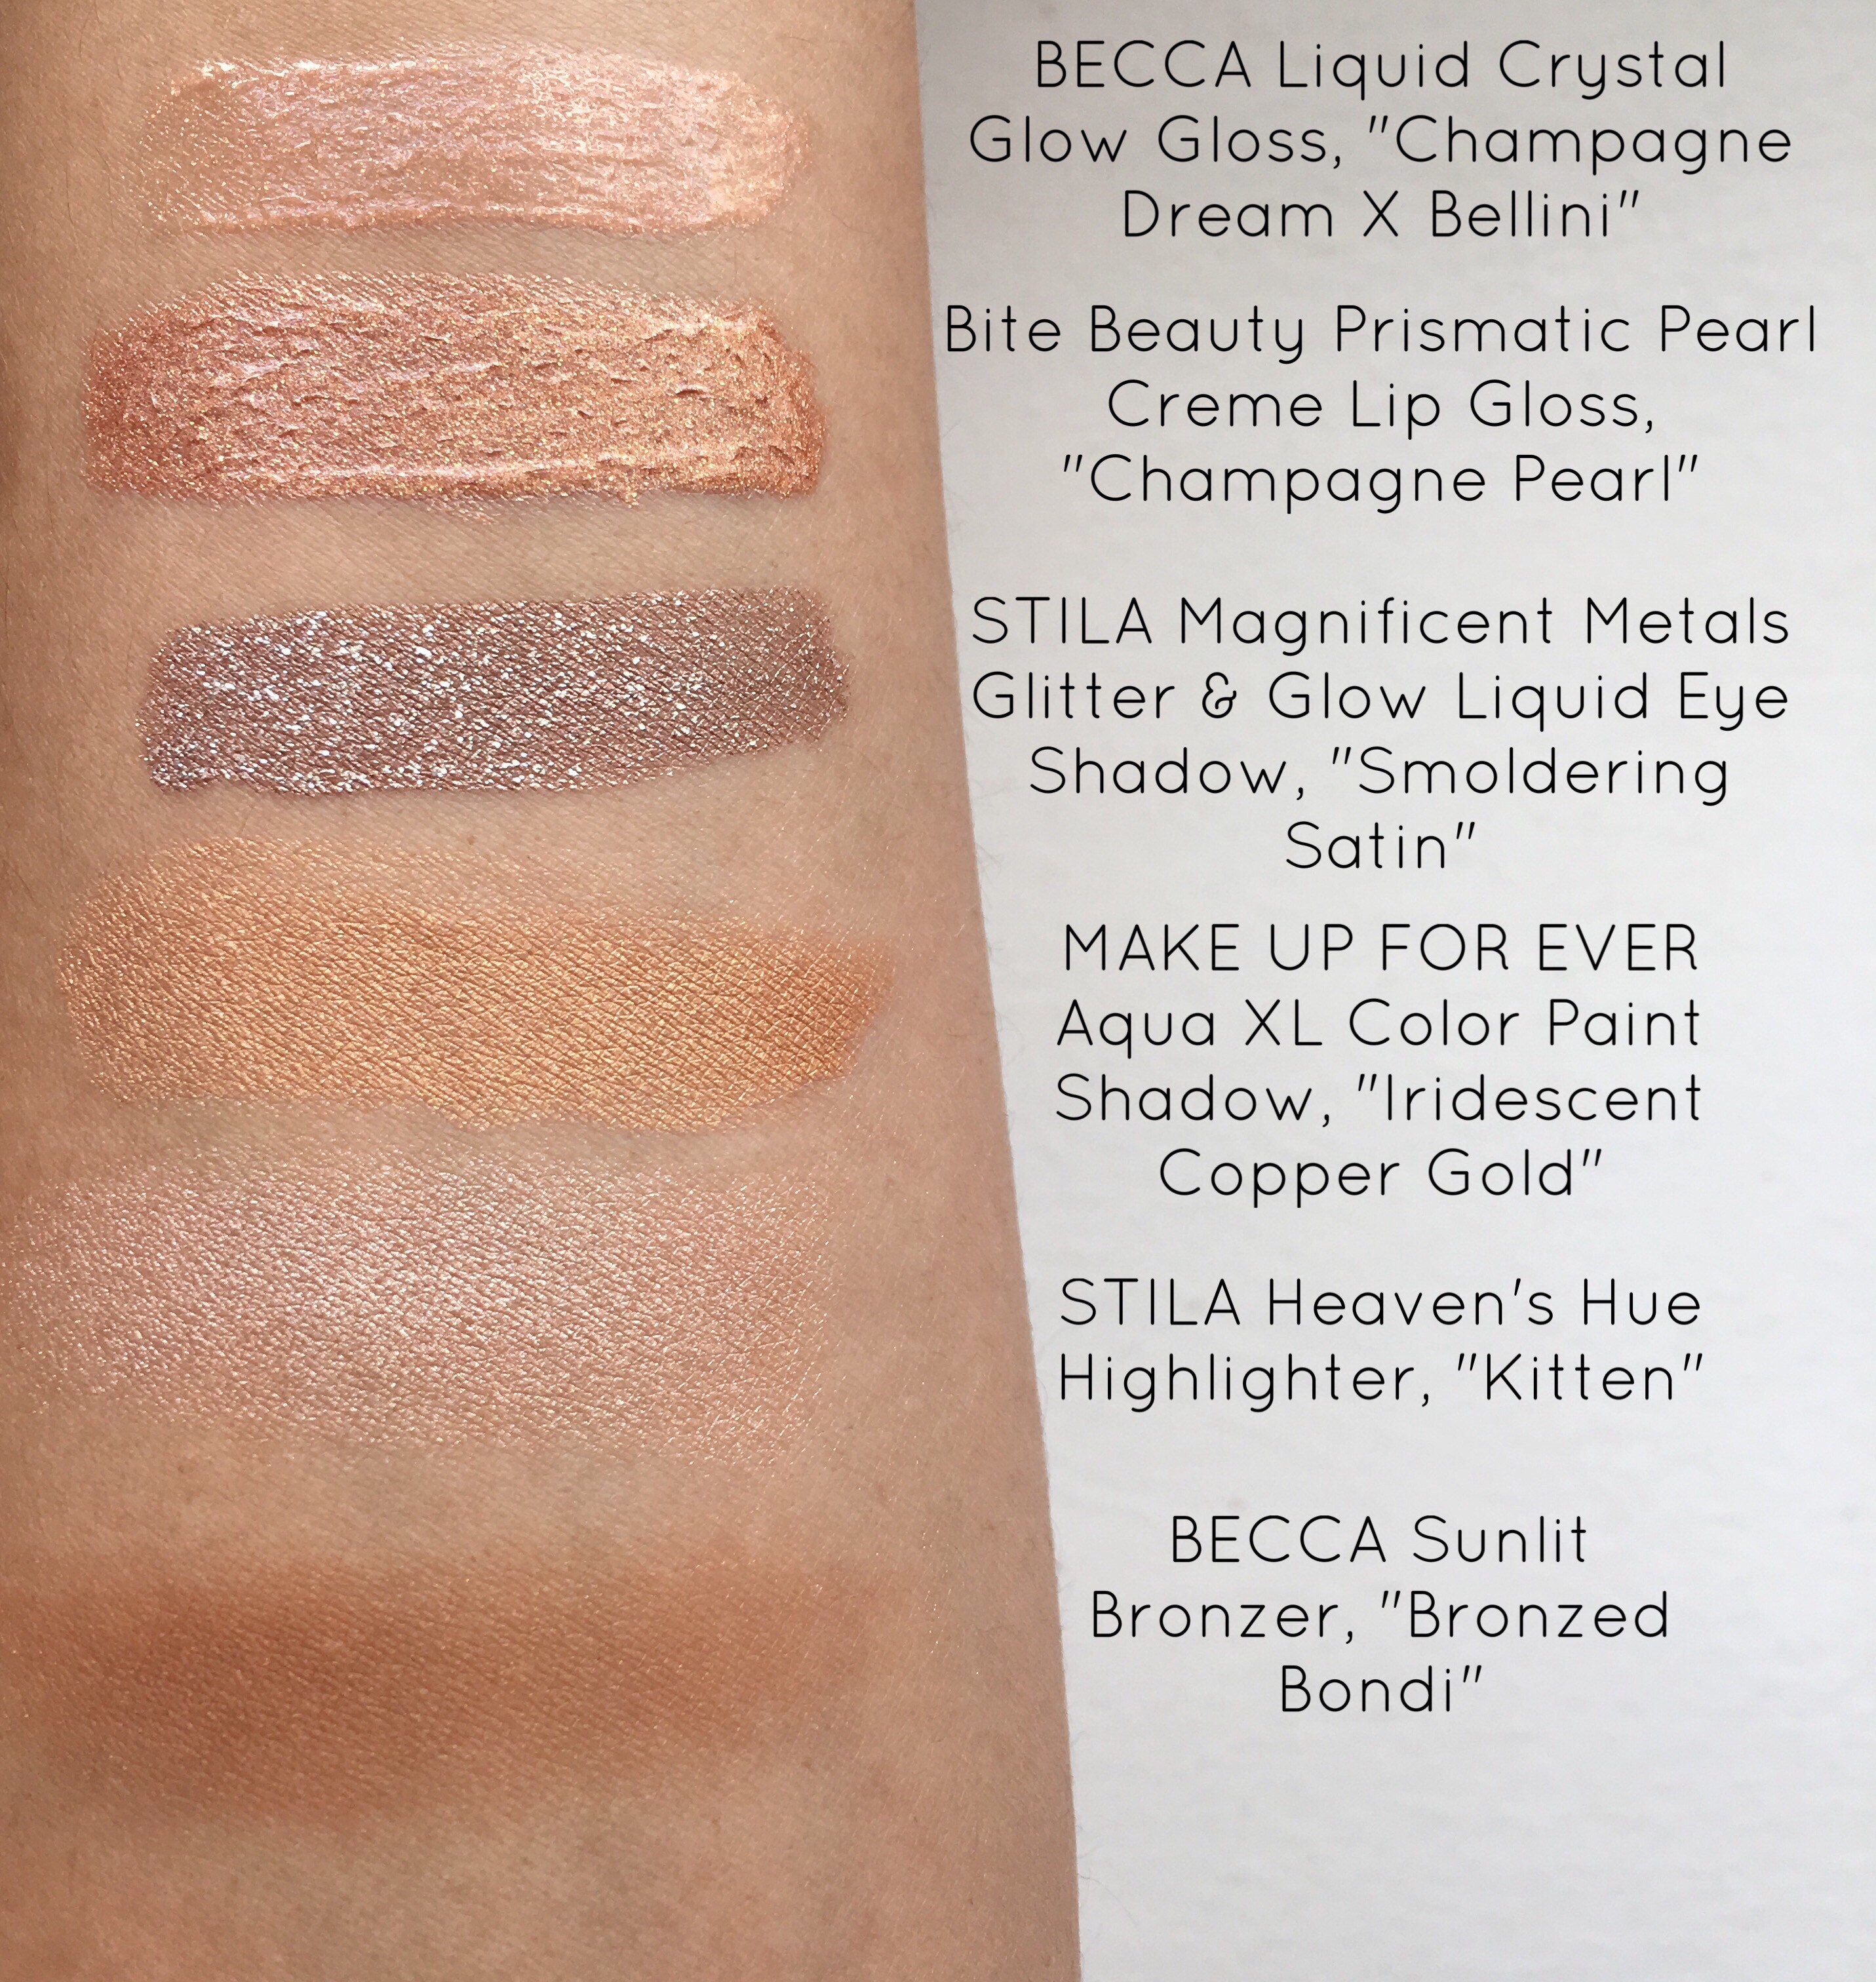
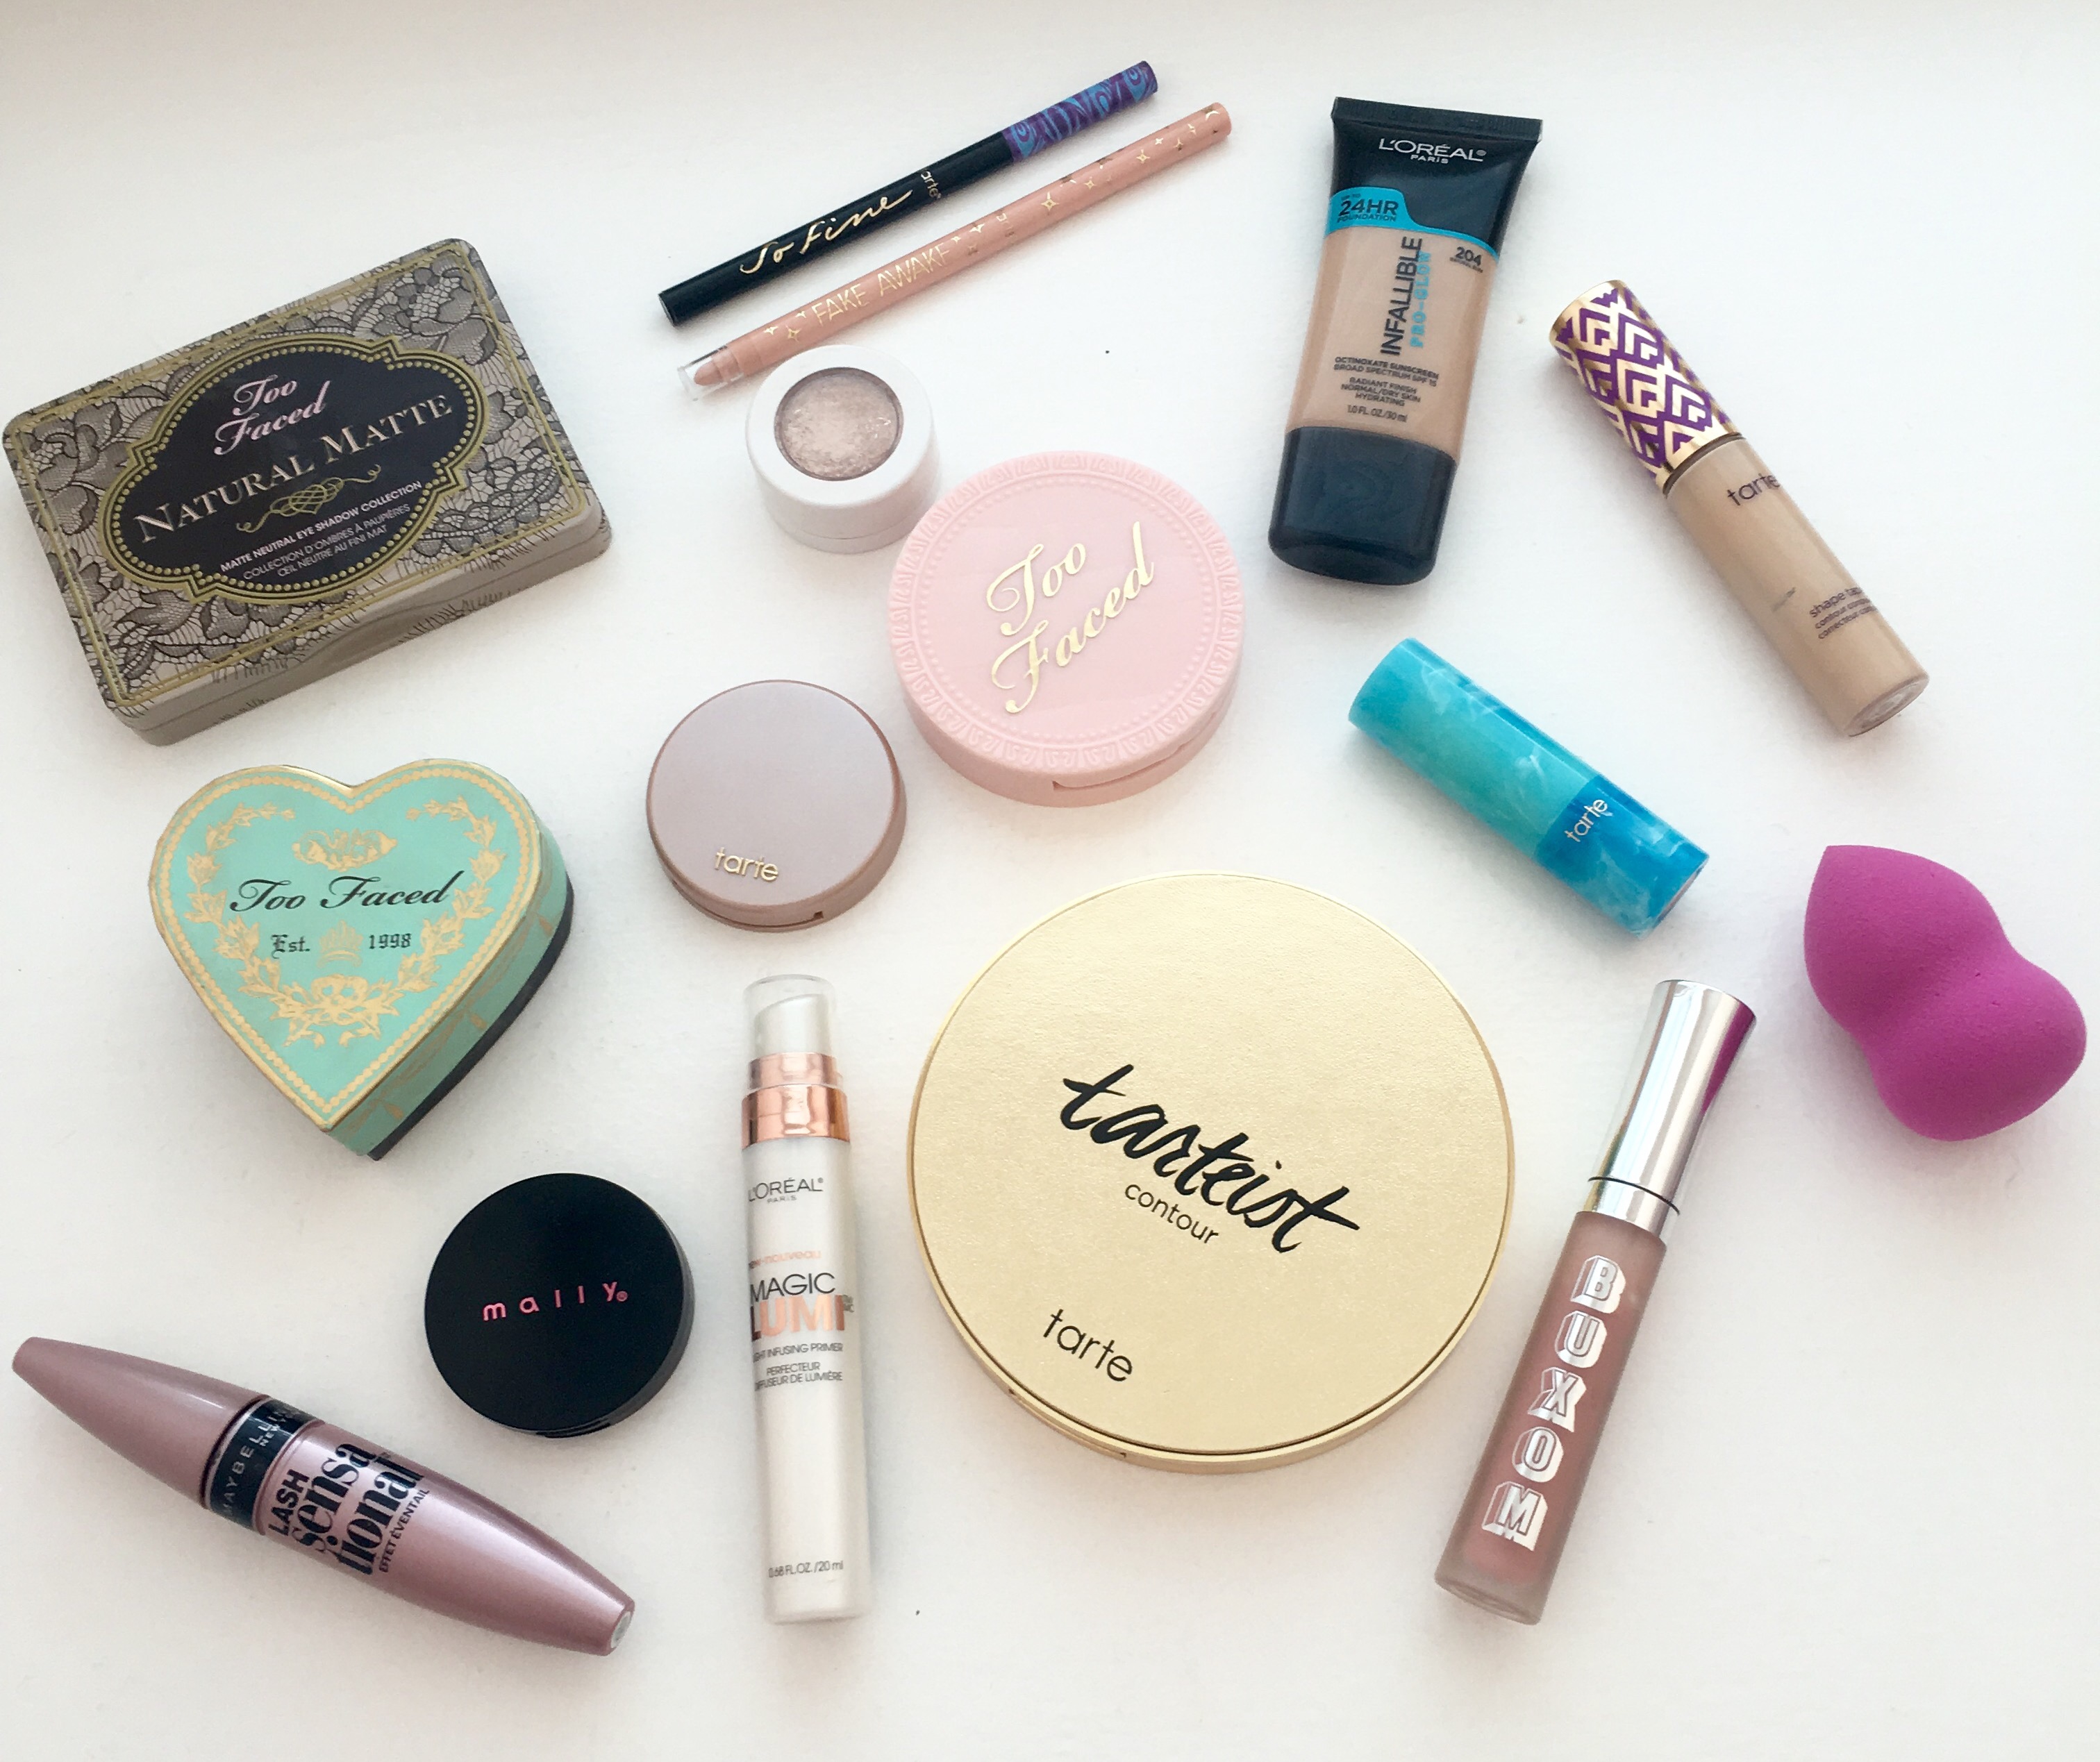
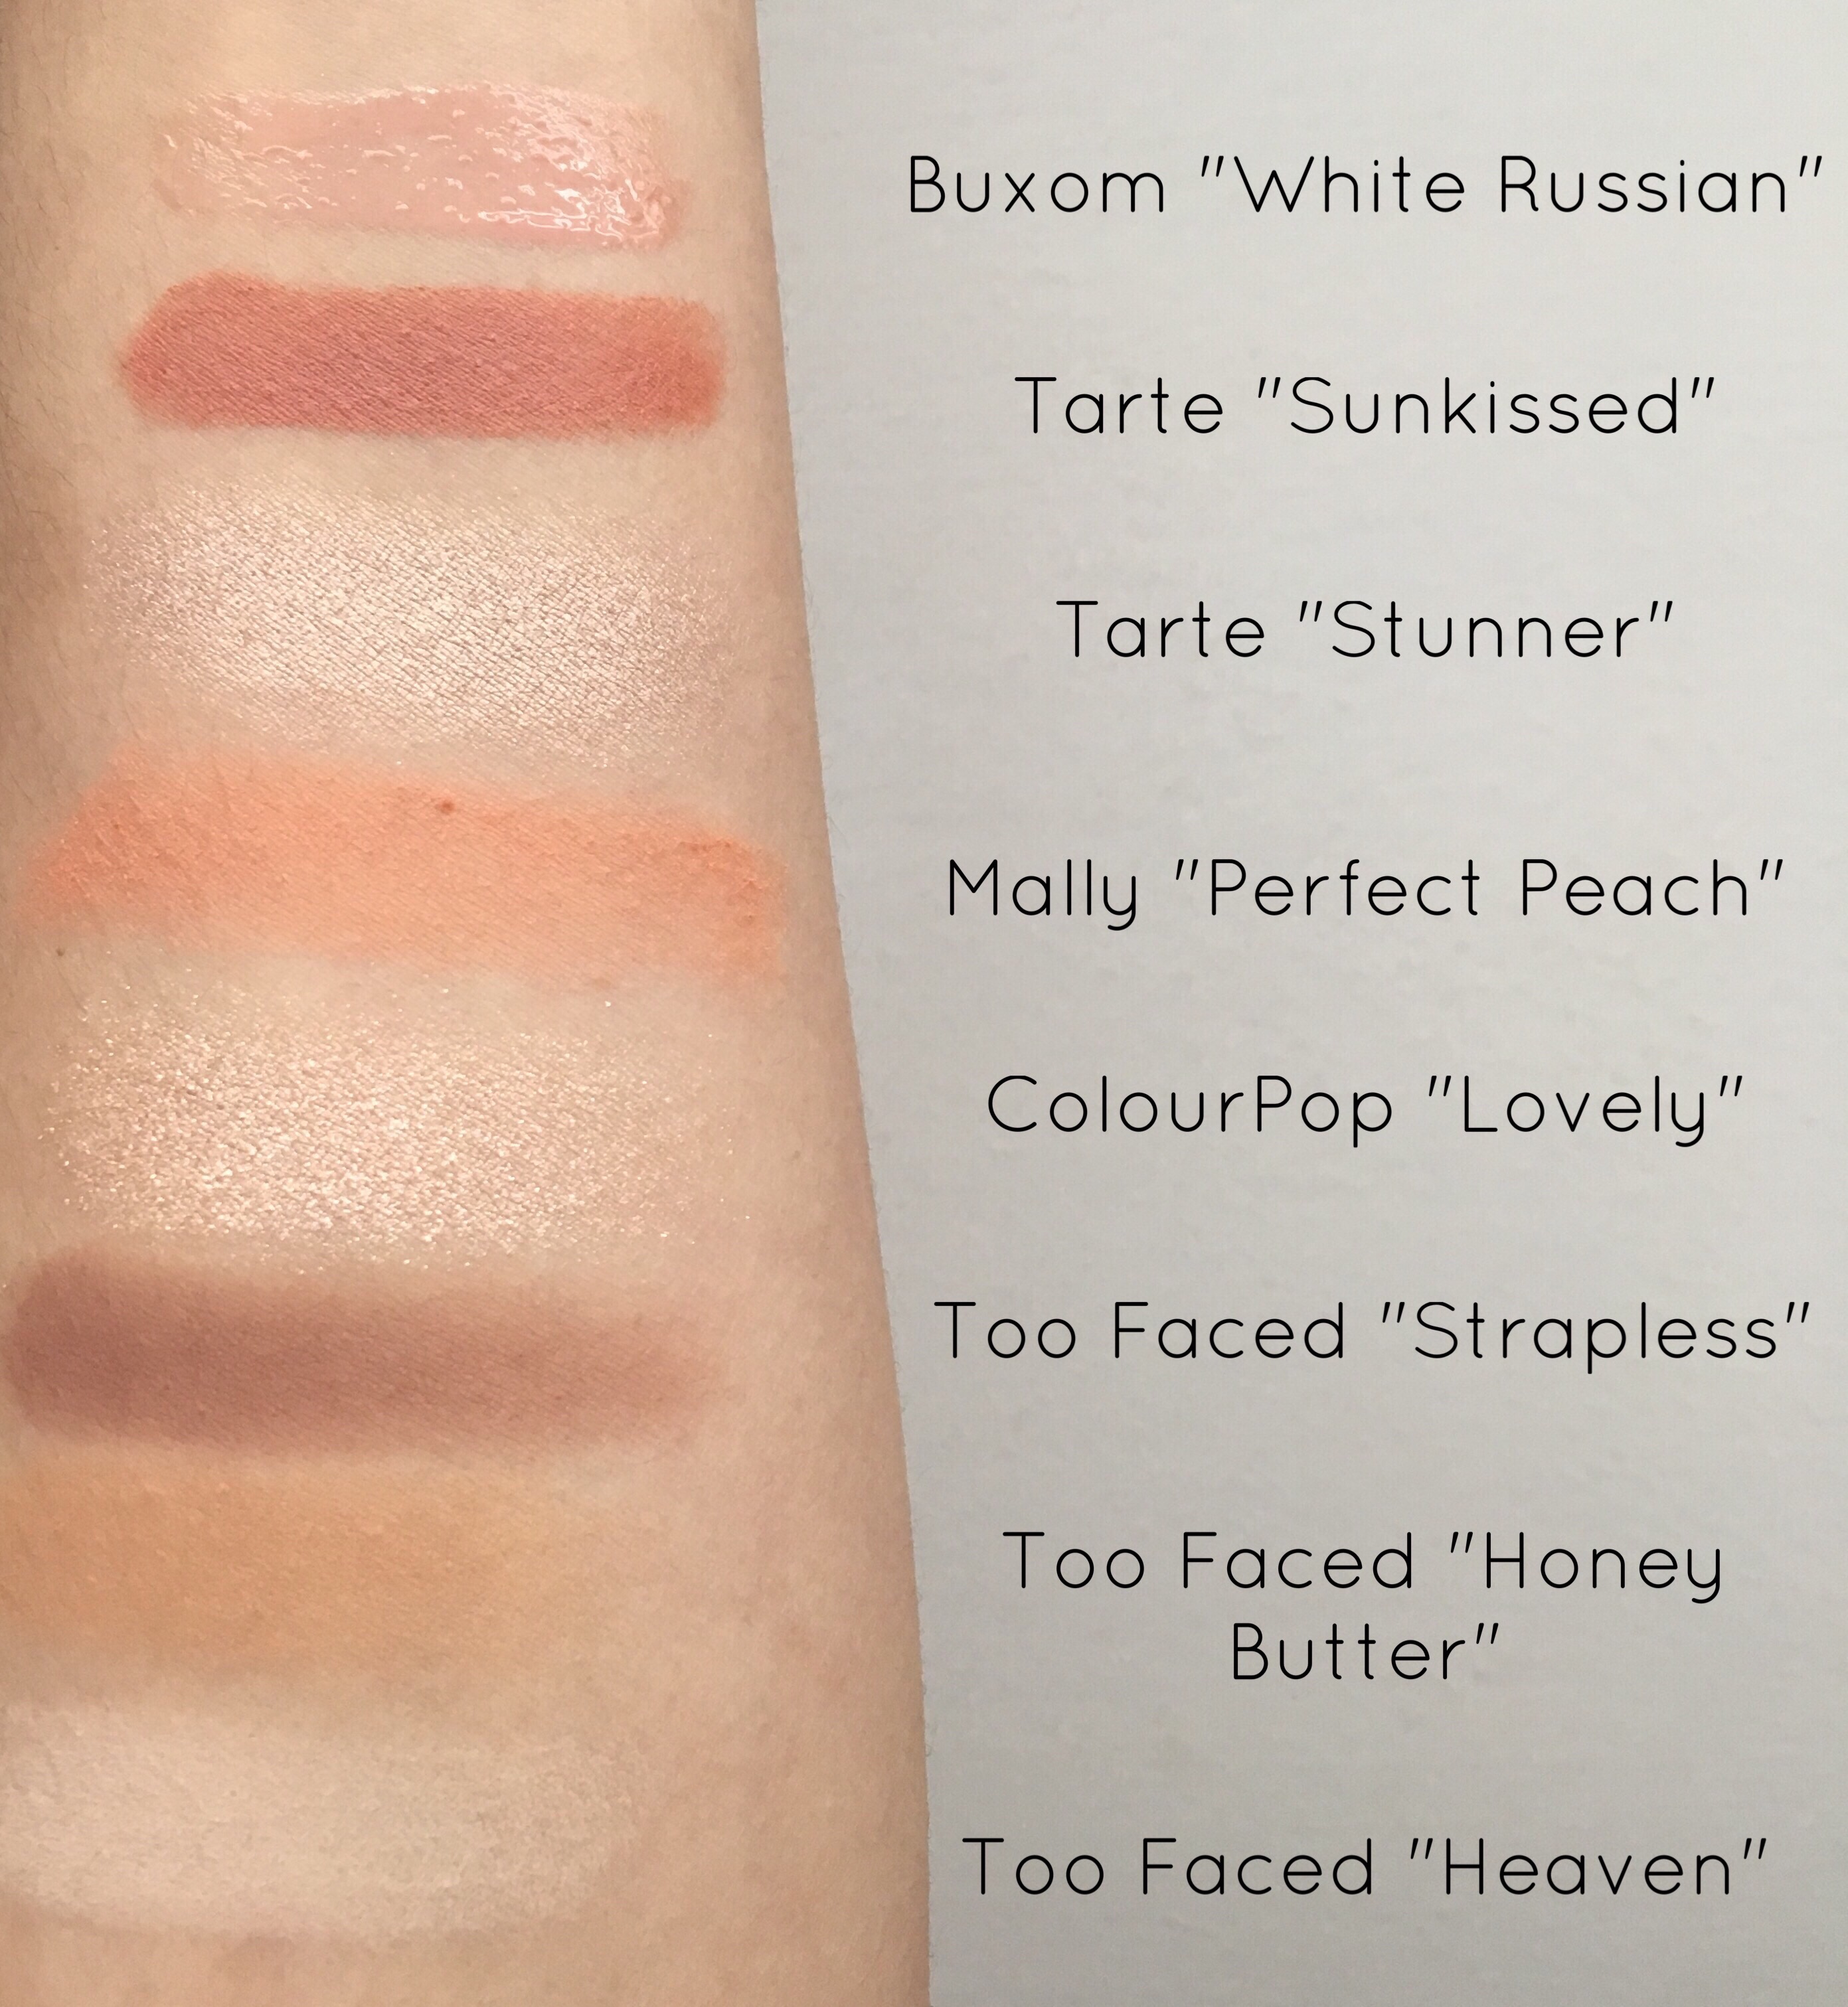
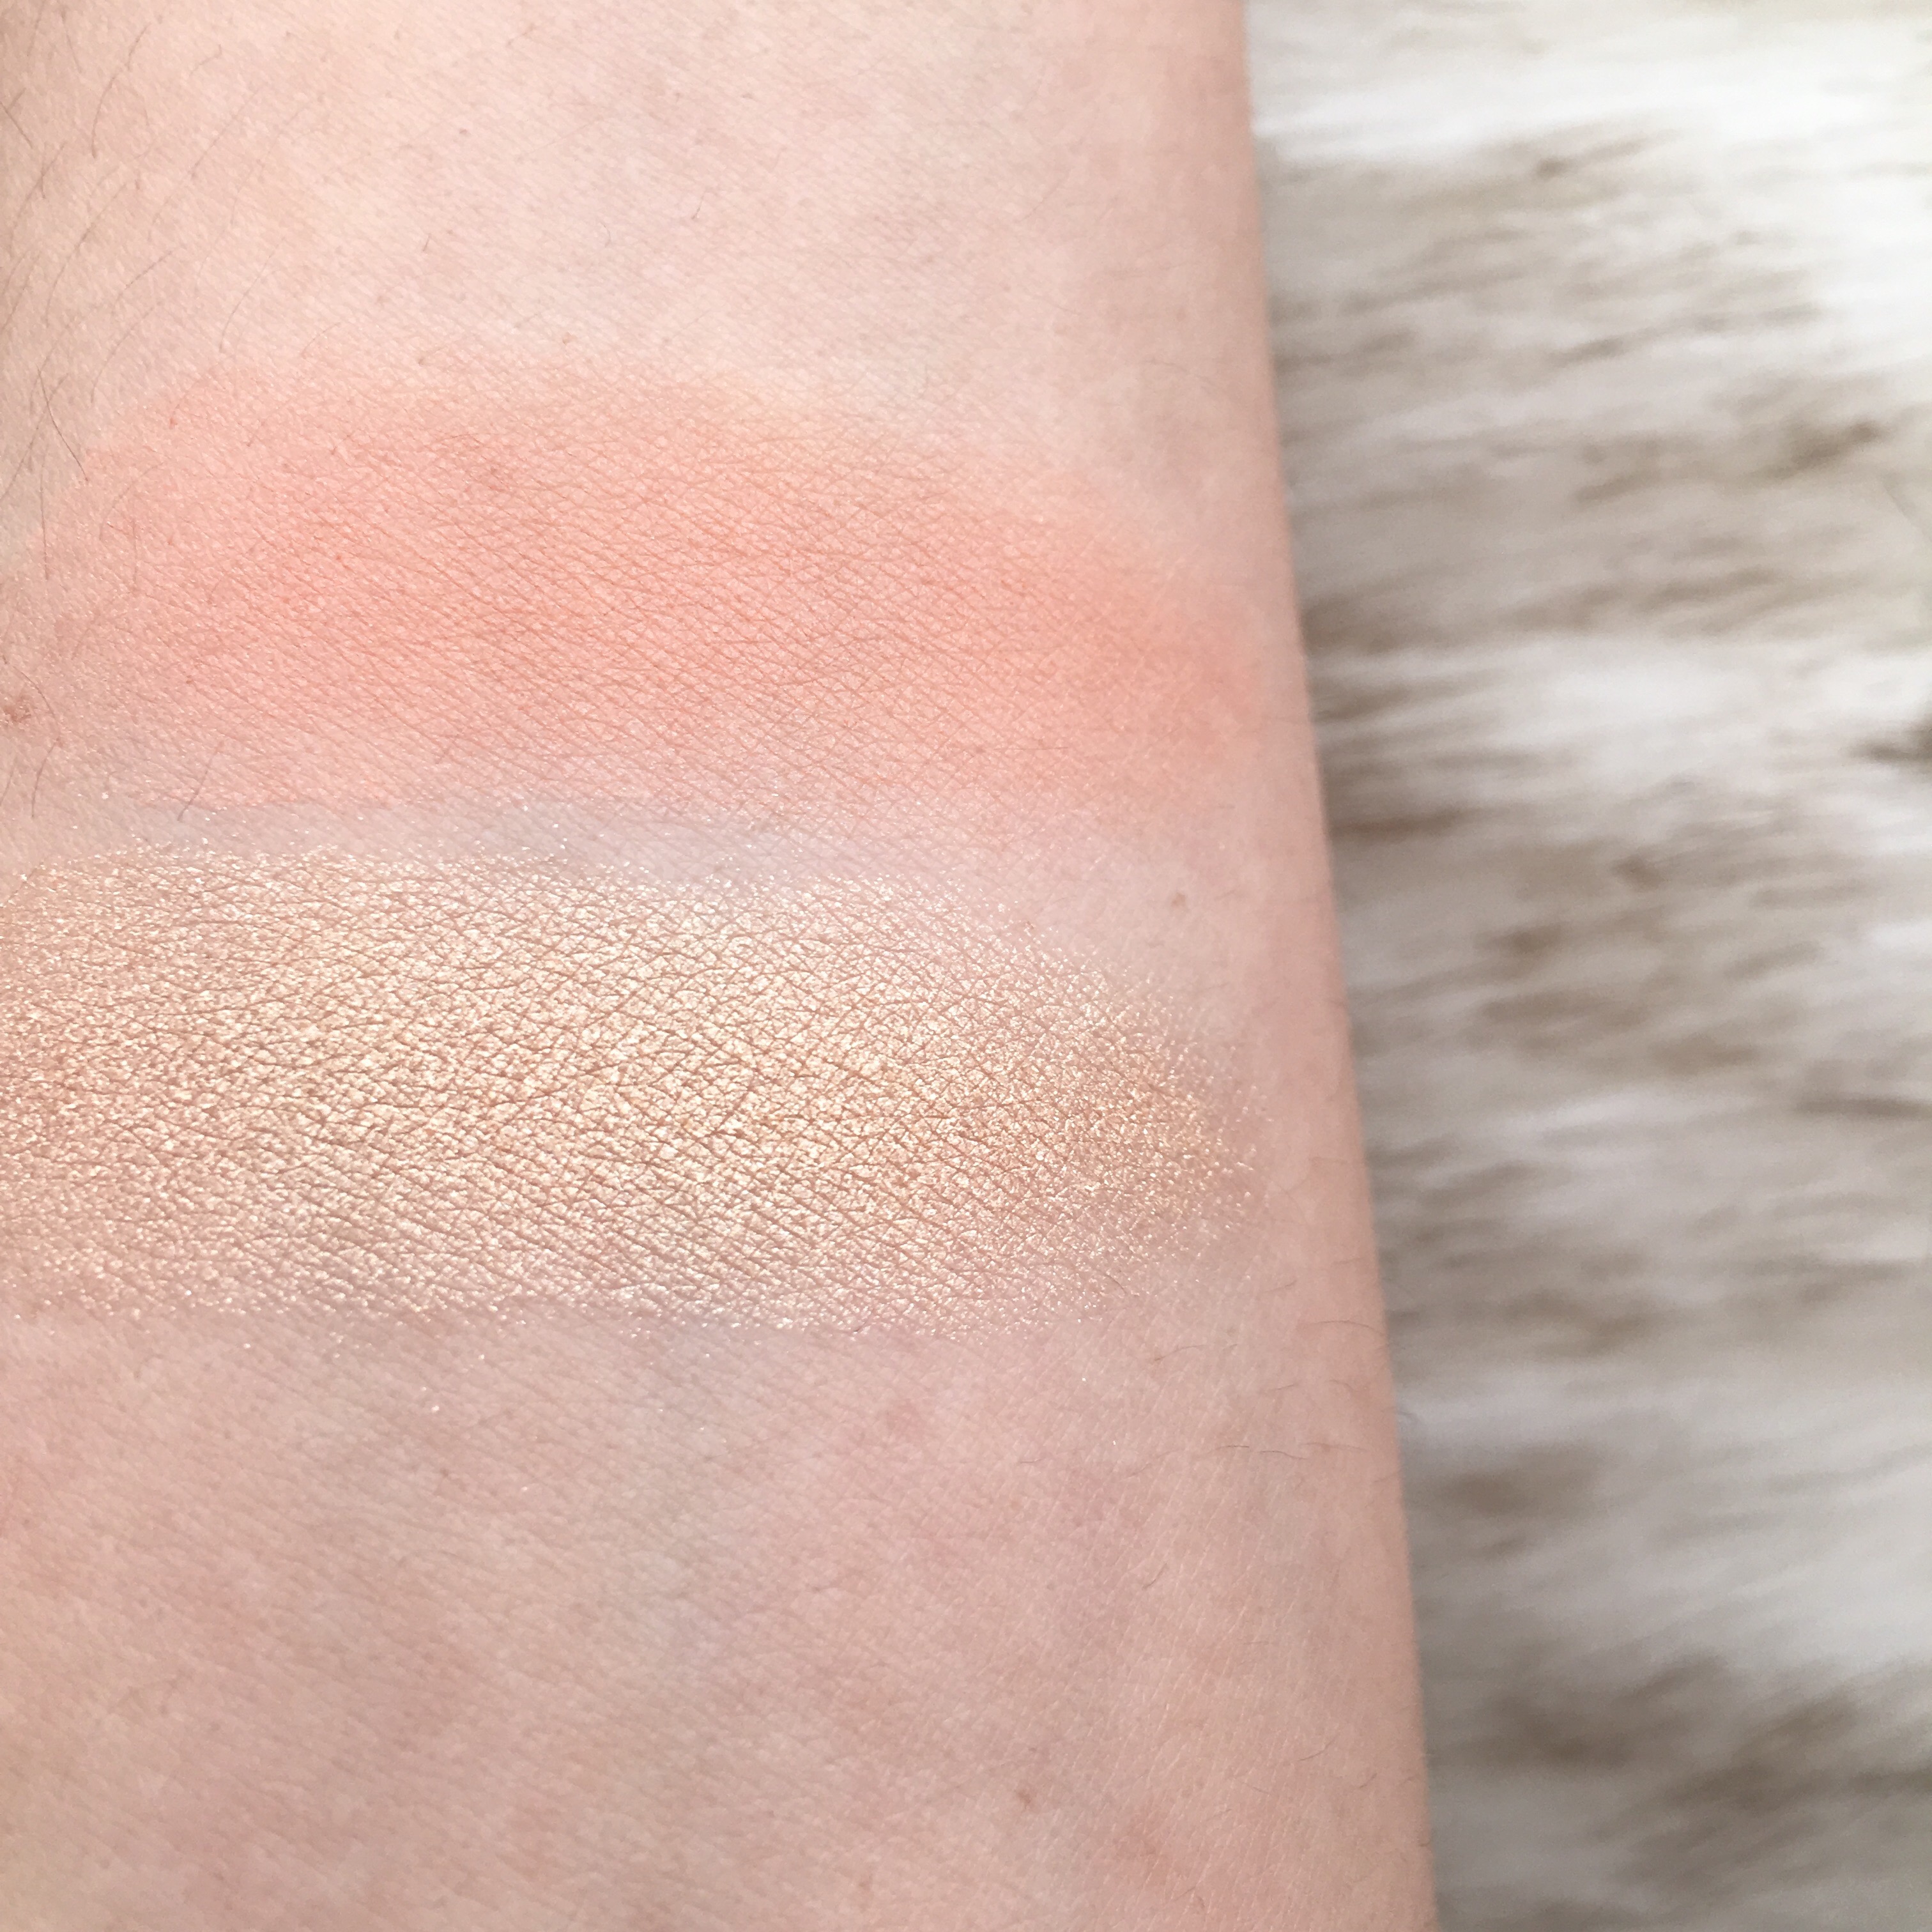
The additional makeup products I used on the rest of my face!

Anddddd that’s it! So easy right?! I really love how the eye look turned out and I definitely think it’s easy to recreate! It gives me pumpkin spice, Fall makeup vibes and that’s what I crave all October long! Do you own the Jaclyn Hill palette?! Are you equally as obsessed with it?! I’m already thinking of ideas for my next few blog posts and I would love to know what you want to see next! Feel free to leave your suggestions, I always respond to comments and would love to talk to you! I hope you had a great Sunday and enjoy the week ahead, thanks for reading!

Follow me on Instagram: @abigaillindsayblog

Email any business inquires to:

abigaillindsayblog@gmail.com

September Favorites!

I have been trying so many new things in September, but only a few items have stood out as absolute favorites! I love sharing the different things that I recommend to my family, friends and coworkers! My “monthly favorites” are the products that I know will work for a variety of skin types and people with different levels of experience with makeup. I try to include products that are great for everyday use because the majority of my life consists of work and activities that limit how glam I can be from 8 am – 5 pm (although I do wish I could wear glitter eyeshadow to weekly meetings).

Anastasia Beverly Hills, Brow Powder Duo – $23.00

I recently picked up this old favorite of mine that I haven’t used in years! The Anastasia brow powder duo is a two-shade product that helps fill in and shape the brows! This is the most natural way to define your eyebrows, so if you don’t like using a pencil or pomade, definitely try this out! The formula is so good, it will stay put and is completely smudge proof. You can build up this powder, so I recommend using different amounts of pressure to get the desired light-to-dark effect on your brows. With the lighter shade in the duo, gently fluff it with feather-like strokes into the front of your eyebrows. With the darker shade, use slightly more pressure and precisely shape your arch and tail. They have 11 shade options to choose from and I use the duo in “Ash Brown.” By using a powder, you will get a much softer and natural effect, while still looking like you put effort into your eyebrows!

China Glaze, Street Regal Collection – $7.50

If you know me, you know I have an obsession with blue nail polish. I have always loved royal blue shades, but I’ve noticed that so many of them chip within a day of wear. I know certain colors are more difficult to formulate than others, so maybe blue is one of the cursed ones! I finally found one that is a cream finish and lasts really well on my nails! The China Glaze “Street Regal Collection” is online only at Ulta.com. The blue polish is called, “Born To Rule.” They have some absolutely stunning Fall shades in the range and I would recommend checking them out online if you enjoy doing your nails at home! I have been pairing any polish with the CND Vinylux Weekly Topcoat and I think that also helps prolong the wear of the manicure!

L’Oreal, Infallible Pro Matte Liquid Lipstick – $9.99

This is by far the best liquid lipstick formula at the drugstore! The most standout feature for me is the longevity, this will stay on your lips without fading or transferring for hours…it lasted throughout an entire meal without budging! You actually have to use an oil-based makeup remover to get this stuff off! It’s matte, but not uncomfortably drying. I really love the applicator because it allows you to be super precise when filling in your lips and it distributes just the right amount of product. I have mine in the shade, “Stirred,” which is a vampy, burgundy color. Be warned that the colors are darker than what they appear in the tube! I’m super excited to try out some of the more wearable nude shades now that I know the formula is top-shelf status!

Kiehl’s, Midnight Recovery Eye – $37

My under eyes are such a problem area for me. I’ve tried a lot of different eye creams and never found “the one” or a formula that did everything it claimed to do. I have super sensitive skin, so most eye creams would actually burn my skin and give me a reaction with small white bumps. I have been testing the Bobbi Brown eye cream for awhile and it’s really good, it was actually my favorite for a few months. When I ran out of that one, I decided to try out the Kiehl’s Midnight Recovery Eye because 1. Sephora finally sells this brand 2. So many people rave about it being their holy grail eye cream 3. No parabens, mineral oil, fragrance, silicones 4. Affordable in comparison to other popular eye creams! This claims to help with dryness, puffiness, fine lines and wrinkles. Since using it, I’ve noticed a significant difference in my dark circles, which is super exciting! I’ve noticed an increase in hydration and my fine lines seem to be fading! It’s absolutely a miracle product and I would highly recommend it if you’re like me and desperately trying to prevent any signs of premature aging!

Tarte, On the Prowl Tarteist PRO Magnetic Palette – $10

These magnetic palettes make life so much more convenient! You can pop in your single shadows, blushes, highlighters, powders, literally anything that you can de-pot and keep them in one little place! These are really ideal to keep your 3-4 essential products that you know you reach for every day. You don’t have to dig through your vanity or worry about misplacing anything, because you have it all in one compact place. I have a few different Z Palettes and although they’re nice, I really do prefer these Tarte magnetic palettes so much more! These come with a mirror and they’re more padded than the other ones I’ve tried in the past. I would definitely feel comfortable and confident that my powders wouldn’t break when traveling with the Tarte version. The camo print is so adorable and fun! They also have a leopard print and some limited edition holiday versions as well! Any product that helps keep me and my makeup collection somewhat organized is a winner!

That is all for my September Favorites! I love using all of these products and I feel like you would too! Let me know if you are also enjoying any of these beauty items! What were your favorites in September?! Please leave me a comment letting me know! I love talking to you guys and I feel like I get so many awesome product recommendations! I hope everyone has a great week!

Find me on Instagram!: @abigaillindsayblog

Email any business inquires to:

abigaillindsayblog@gmail.com

Shop the products here!

Anastasia Brow Powder

China Glaze Nail Polish

Loreal Liquid Lipstick

Kiehl’s Eye Cream

Tarte Magnetic Palette

Natasha Denona Eyeshadow Palette 5! Review and Swatches!

Have you ever heard of Natasha Denona? She is an international, highly acclaimed makeup artist who started her own brand! Her signature look includes glowing skin and shimmering eyes, so it’s no surprise that the majority of products in her line will give you a similar appearance! I have read many reviews about her eyeshadows being incredibly pigmented and blendable, but they’re also pricey, so I decided to wait until I could buy during a random sale at Sephora. I recently was able to earn 4x the points as a VIB Rouge, so I decided to purchase the palette and use it towards maintaining my rewards status until 2019! I wasn’t planning on dedicating an entire blog post to this product, but as soon as I swatched it, I knew I had to share it with you all!

I got the 5 pan palette because I really couldn’t commit to the cringe-worthy price of her larger 28 shade palettes ($239) YIKES. Now that I’ve tried the shadows, I know they’re definitely something special, but I personally could never justify spending that much on eyeshadow, sigh. However, for $48, you can get 5 extremely high quality eyeshadows in 13 different color combinations. I decided to purchase “4,” which includes the shades, Aura, Cool Bronze, Oxide, Cool Plum and Moonstone. I love wearing one metallic color across my entire lid and they’re all gold/rose gold/bronze tones, which are my absolute favorite for every day makeup looks. I wanted to buy the colors that I knew I would get the most wear out of! I was super close to getting “2” and “10,” but I’m extremely happy with my choice and find the colors to actually be more wearable than the online product photos portray!

I barely pressed my finger into the first eyeshadow and was truly shook at the color payoff. Like you need the smallest amount to get a full, metallic, pigmented layer of color on your eyes. I tried these shadows with my fingers and brushes and they definitely show up more foiled with your finger, but if you want a more subtle effect, I would recommend a flat, synthetic shader brush! The shade “Cool Plum” is a satin matte formula, so that’s why it isn’t “BAM” when you look at it compared to the other shades! I used it in my crease to add depth and it was really creamy and blended so well. These have minimal fall-out, which is so rare for a sparkle/glitter eyeshadow. They are even water-resistant…so you know that implies how long-wearing and fade-proof these will be throughout the day!

Here is just a little natural, easy eyeshadow look that I created with this palette!

  1. I only have eyeshadow primer and translucent powder on my eye at this point, no shadows!
  2. Since there isn’t a matte transitional shade in the palette, I threw some bronzer in the crease to help add depth and blend any harsh lines from the lid shades that I apply next.
  3. I patted Moonstone on the inner half of my eyelid. I wanted to use a brighter shade towards the front of my eyes to help them appear larger!
  4. With a flat shader brush, I swept “Cool Bronze” on the outer half of my eye. I love the subtle transition from light-to-dark that this combination of colors gave!
  5. Using a fluffy blending brush, I buffed “Cool Plum” into my outer third to give depth and shape my eye. With my finger, I patted “Aura” on my inner corners to help open the eyes and help me look more awake!
  6. I really dislike this angle because eye whites and veins 😂 however, I wanted to show you that I used “Oxide” on my lower lash line to give a little drama and definition!

Here’s the final look! As you can see, it really came out super natural and it was incredibly easy to create! I’m so excited to wear these warm metallic shades in the Fall with a dark red lip! I really want to buy another one of these 5 pan palettes, but have you seen the new Natasha Denona “Lila” Eyeshadow Palette coming out to Sephora in September?! It has 15 eyeshadows, so of course it’s expensive, but the colors are literally calling my name! So many purple and gold shades, which are my absolute favorite to wear! Let me know if you’re thinking about getting it, I want to read your opinion of the swatches! Thank you so much for reading!

Follow me on Instagram: @abigaillindsayblog

Email any business inquires to:

abigaillindsayblog@gmail.com

How I Stay Tan All Year Long!

Am I the only one who feels 197639640 x better with a tan? I refuse to bake my body in the sun for hours upon end and tanning beds are simply out of the question, so what’s a gal to do? Well, I have been using the best self tanner duo to make sure I have a bronzed glow all year round! I wanted to share these products with you because for years, I was under the impression that the only way I could be tan was to go outside with all the SPF 5 oils, but now I’m really starting to prevent fine lines and wrinkles and with the statistics on skin cancer, it’s just not worth it to me. Self tanning at home always seemed like such a stressful burden to me and I was fearful that I would turn orange or splotchy, but I promise these products will give you a natural, olive-undertone tan!

For my body, I’ve been using the Loving Tan Self Tanning Mousse for years. I was previously trying out a lot of other popular brands like St. Tropez and Fake Bake. They weren’t “bad,” but they weren’t the perfect formula or color for what I really wanted. When I came across the Loving Tan Instagram, I was shocked at the before and afters! That’s really what sold me on trying the product! The difference in one usage was dramatic (in a good way) and I absolutely loved the natural, olive-toned tan that it gave even the most fair-skinned girls! Nothing about it appeared orange or uneven, just a perfect, “I just got back from the beach” suntan! I definitely wanted to try it out for myself and see if it lived up to the hype. I initially ordered their “Ultra Dark” formula, which instructs you to leave it on for at least six hours. I would typically just apply it at night after I have showered and exfoliated, then go to sleep and rinse it off in the morning before work. If you want the most dramatic, “wow I can’t believe I’m this tan” effect, then definitely go for this! It’s worth it to just sleep in for a night to have perfect bronze color for a week without fading! I still enjoy this color, I just would use it only in the summer, or for special events or a vacation in the colder months! Throughout the Fall, Winter, early Spring months, I do use their “2 Hour Express Dark Self Tanning Mousse” because it is just more believable that it’s my skin color! It’s still very tan, but it’s not as deep and I really like that it’s completely ready to rinse off in 2 hours. I like being able to just get it done as soon as I get home from work or on a weekend morning, it’s just really convenient since you don’t have to wait for too long! I really wish they made the “Ultra Dark” in a 2 hour formula, but for now, the dark shall do! They also have a Medium shade if you are very fair and want to ease your way into the self tanning trend! There are many other absolutely amazing things about this self tanner. One of the greatest being NO SMELL! There is nothing worse than getting a spray tan and smelling like absolute garbage for 12 hours. This one is practically odorless and just smells slightly sweet, rather than rancid. It also has a color guide, so as you apply it, you can visibly see the areas that you’ve placed the self tanner and where you haven’t. Don’t worry if you look a tad crazy and splotchy as it dries, I panicked the first time I used this because it looked super dark in some places and not dark enough in others, but once you rinse it off it will look completely even and flawless! I have super sensitive skin all over and it has never broken out my body or face! I also just love that it lasts! It isn’t until about 7-10 days after my initial application, that I start to notice it fading. I really can’t say enough good things about this product! You can absolutely use the self tanning mitt that comes with the product, but I would highly recommend this Tarte one! It’s so soft and fluffy and I think it buffs out the mousse so evenly. I love that it’s so durable as well and will stay put on your hand throughout the application! I’ve actually tried the Loving Tan “Back Applicator” and I just cannot make it work, so please leave me a comment on how you tan your back! 😂

I’ve only been using the Coola “Sunless Tan Anti-Aging Serum” for about a month and it’s absolutely amazing! I use exfoliating skincare products and a Clarisonic nightly, so applying self tanner onto my face doesn’t always make sense when it usually fades in a day or two. I read a lot of reviews on the Coola serum and decided to purchase it to see if I could finally find a product to match my face to the rest of my body! I don’t wear makeup every day, so when I go into public with a fresh face, I do get a bit self conscious knowing my face is visibly more pale compared to the rest of my body. I just mix 2-3 pumps of this serum into my moisturizer and apply it directly to my face. It took 3-4 days for me to get the desired bronzed shade, but wow this stuff is so great and looks natural! The color is even and it will give your skin a glowing appearance! It hasn’t broken me out at all, which is super shocking since most serums do! This one is created with organic ingredients and has hyaluronic acid for anti-aging! It is lightly scented, but I absolutely love it. I’m pretty sure it smells like a sweet, coconut/pineapple scent, which will you feel tropical even in the dead of winter! I will say that the tan does fade after 3-4 days, so you do have to stay consistent with it, but for me it is totally worth it!

Thank you for reading about how I stay tan all year round! These products simply work and I highly recommend them to anyone looking for a safe and natural tan. I really want to know your favorite self tanning products, so please leave me a comment below! Also any orange, cheeto girl horror stories are welcome! 😂 I always picture Ross from friends when he got the Mystic Tan! I hope you all had a great weekend and a great rest of the week!

Shop the Loving Tan Self Tanning Mousse

Shop the Coola Sunless Tan Anti Aging Face Serum

Follow me on Instagram: @abigaillindsayblog

Email any business inquires to:

abigaillindsayblog@gmail.com

Eyebrow Routine!


Eyebrows are essential. I seriously fear leaving my house without having them done…they frame my face and compliment the makeup that I put on. I have naturally full eyebrows, but they're totally different shapes and heights…LOL isn't the saying, "eyebrows are sisters, not twins?" Well, mine are like two distant cousins that live on opposite sides of the country. I do have my good brow (right side) and I can always count on it remaining thick and fluffy, but also nicely arched. My ol' bad brow (left side) is quite a troublemaker and always makes me spend extra time trying to make it symmetrical.

I have used countless brow pencils, powders and pomades. After years of trial and error, I feel like I've finally found a combination that gives me the eyebrows that I love most; natural and bushy! I know what you're thinking, what about tweezing/waxing/threading?! I try to maintain some sort of an arch and pluck any stray hairs underneath the brow and in the middle, but I've stayed away from removing any hair above my eyebrow. It's helped me grow out the horribly over-plucked, sperm shaped mess that took years to undo (thank you, 8th grade) and it gives me more of an undone, natural effect. I love 80's supermodel eyebrows, think Brooke Shields and Cindy Crawford. These ladies brushed their hairs straight up and usually sprayed hairspray on their spoolie to keep them in tact. You definitely don't have to go for this look if you don't like it! It is totally fine if you prefer a more precise, clean brow, I think that look is so beautiful too! I've just had a lot of requests to post an eyebrow routine and I wanted to show you how I've been filling them in lately!

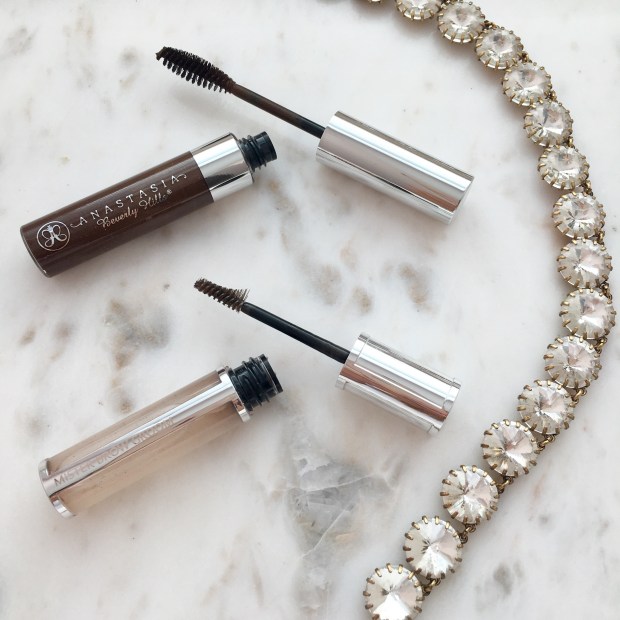
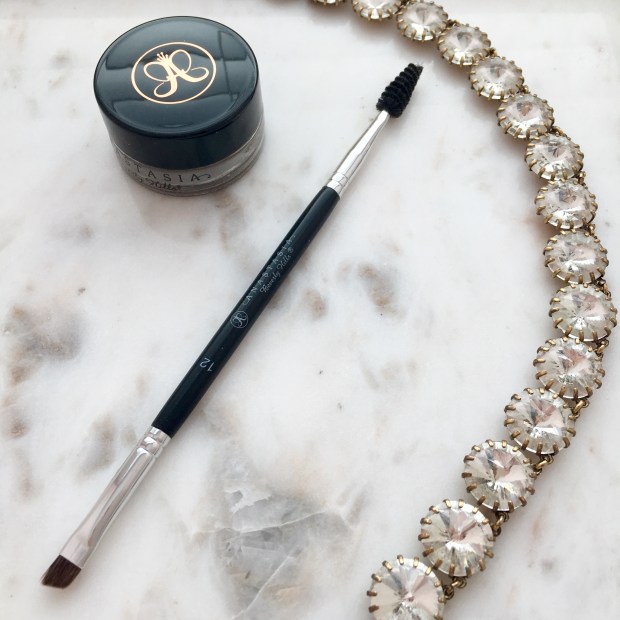
Anastasia Dip Brow Pomade, "Chocolate" and Anastasia #12 Angled Brush.


Anastasia Tinted Brow Gel, "Chocolate" and Givenchy Mister Brow Groom.

  1. These are just my all-natural eyebrows! Something for you to compare for a before and after! ☺️
  2. I always use my Anastasia Dip Brow Pomade. One little jar of this stuff lasts forever and it will never fade throughout the day. I find that it's just the easiest way for me to fill in my brows in a natural way. Using an angled brush, with a spoolie on the other end, also helps me get this done precisely and quickly! I first draw a line underneath the brow to get a defined shape. I always start on the bottom because you can just brush excess product upwards if you apply too much, it's incredibly harder to correct when you start from the top. I focus on emphasizing my arch and extending the tail of my eyebrow as well. With the spoolie side of my brush, I gently swipe any extra product into the hairs, making sure to cover any blank spots.
  3. Now I move onto the top. You can see that I've drawn a pretty harsh line to carve out my arch. This also helps me create additional symmetry and give an illusion that they're the same height.
  4. I've blended all of the lines into the eyebrow hair and brushed through everything a few times with the spoolie. It is so important during this entire routine to never put excess product towards the front of the brows. That's when things can get very unnatural looking! Instead, I take whatever is left on my brush at the very end of the sculpting process and gently fluff it through the front part to lightly shade it in.
  5. I used the Anastasia Tinted Brow Gel to give some highlights and dimension to the hairs. It also helps warm them up a little and match my current hair color a bit more. I love this eyebrow gel on its own, but of course I'm extra and add another one in the mix.
  6. I applied some of my Givenchy Mister Brow Groom and used the applicator to brush upwards on my hairs. This is a clear gel, so it's totally fine if a little gets on your skin from brushing them straight. This product is so pricey, but if you have hairs that fall or get wild throughout the day, it may be worth it. This stuff is like superglue and I love fluffing the front section of my eyebrows with this product. It also helps separate each hair and will help you look like you just naturally have beautiful, bushy brows!

What is your must-have eyebrow product? Have you ever tried any hair growth products that helped you get thick, full brows? Let me know! The bushier, the better and I just want the type of eyebrows that could make Lily Collins envious! I really appreciate you checking out my blog and reading this post! Feel free to leave me suggestions on what I should write about next!

Follow me on Instagram: @abigaillindsayblog

Email any business inquires to:
abigaillindsayblog@gmail.com

New High-End Makeup Haul! Review and Swatches! 


I recently picked up some new makeup from Sephora and Ulta to try out! I’ve read some reviews on these products and then once I swatched them in store, I knew I had to have them! I recently went on vacation and I brought these beauties with me to try out while I was gone so I could give you a solid review and let you know whether or not you need these products in your life. I noticed in the swatches that these are all bronzey-copper shades so I do apologize that they all fall into the same color family! These are just my personal favorite colors to wear on a daily basis and I know I will get the most bang-for-my-buck by sticking with the warm tones that I love to wear!
     

Becca Liquid Crystal Glow Gloss, “Champagne Dream X Bellini” 


I really wanted to try this lip gloss since it is super multi-dimensional, it seriously sparkles so beautifully in the sunlight! I’ve been into the glittery glosses lately and I was excited to test out a lip product from Becca for the first time! So far, I really love the smell of it and enjoy the smooth texture. I can’t stand when a sparkle lip gloss has that awful gritty texture, almost like sand when you rub your lips together. This one seriously feels like a thick, balm consistency and I can’t feel any of the glitter when I close my mouth. It is on the heavier side, so if you like really light, silky formulas then you may want to pass up on this! You can definitely wear this gloss alone, but I prefer just topping my lipstick or liquid matte lipstick with this product! The shade “Champagne Dream X Bellini” is one of the most wearable colors in the collection, but if you enjoy wearing non-traditional lip glosses than I would check out some of their other combinations in “Amethyst X Geode” and “Opal X Jade.”


Bite Beauty Prismatic Pearl Creme Lip Gloss, “Champagne Pearl” 


Can you tell I’m kind of obsessed with the shimmery lip glosses these days?! I had this one in particular on my wishlist for awhile before purchasing. This is a very pearlescent formula, with a lot of finely milled glitter. It catches the light beautifully and gives a multidimensional effect to the lips. I love this formula because it’s super long wearing, which is generally rare for a lip gloss. It also has an extremely smooth texture for the amount of glitter in the bottle. I can’t believe you can’t feel the sparkles at all since it is so metallic! I love the smell of this one as well, plus if you accidentally lick some off, you know it’s okay because all Bite products are made with food grade ingredients, YAY! So no accidental chemical ingestion, woo! I unfortunately can’t wear this product alone because it is overpowering and metallic in an unflattering way, however when I just pat it lightly over a lipstick, it turns out gorgeous and gives a plump look to my lips. 


Stila Magnificent Metals Glitter & Glow Liquid Eyeshadow, “Smoldering Satin”


I’ve been eyeing this product for such a long time! I’ve watched so many YouTube videos and read so many blogger reviews on how awesome these Stila glitter eyeshadows perform, so I couldn’t wait to try it out for myself! I went with the “Smoldering Satin” color because it’s different than any glitter or M.A.C loose pigments that I currently own. It’s definitely more of a neutral bronze color and it has gold and silver glitter throughout it. I wore this product all over my lids, then only in the inner corners, then only on my lower lash line and each way worked out beautifully. They are so user friendly, you don’t have to buy a mixing medium or glitter glue, you can just apply directly from the applicator, or you can put some on your finger and gently pat it where you want it. I had zero fall out with this product, which is great because I’m in the habit of doing my face makeup first and I hate having to wipe away glitter when I have my entire base finished. It also wore for hours without fading, creasing or transferring, which was a first for me! I tested this out at the beach, so I was around humidity and hot temperatures and it performed so great. I will definitely be repurchasing this product in different colors. I don’t think I’ve ever received more compliments on my eyeshadow, I had so many complete strangers ask me what glitter I had used! If you love this product and use it all the time, then please let me know what your favorite shade is so I can try it too! 


Make Up For Ever Aqua XL Color Paint Shadow, “Iridescent Copper Gold”


I haven’t read too many reviews on this product, but I was really curious to try it out anyways! It is labeled as being “24-hour wear and waterproof” so of course I tested this in the ocean!l I am happy to report that it actually did last! I was kind of doubtful that it would stay at all, and I will admit that it did fade a tad bit, but definitely not a noticeable amount and it didn’t get patchy or crease at all! I also tested these out of water and it lasted all night long and stayed perfectly vibrant and beautiful! I really want to try one of their matte shades as an eyeshadow primer/base because they layer with powder eyeshadows so perfectly and last forever! 


Stila Heaven’s Hue Highlighter, “Kitten”


This was my first “putty” product that I’ve ever tried and I am obsessed! This highlight is incredible and totally worth all the hype that surrounds it! If you like those blinding, wet-looking highlights then you need to try this! I got the classic champagne shade in “Kitten” and it is a bit bright and light for my tan skin right now, but I know I will get a lot of use out of this in the Fall/Winter months when I’m more light-to-medium. The formula is like a thick putty, you can push it around and smoosh it with your fingers, but it still stays solid! I feel like it gives me the same kind of intensity that I get whenever I layer a cream highlight with a powder highlight, except this is just one product that I can easily apply in a one-and-done way! This also makes a beautiful eyeshadow so you can definitely get your money’s worth with its multi-functionality! 


Becca Sunlit Bronzer, “Bronzed Bondi” 


Bronzers are one of my favorite makeup items to buy because A.) I use them every day, regardless of the intensity of my makeup look, bronzer will always be essential and B.) I have light, medium, dark, shimmery, matte, warm-toned, neutral-toned, natural and intense bronzers and I still can’t get enough! I’m addicted to finding my perfect formula that looks natural and complimentary with my skin tone! This Becca bronzer is so great because it does have shimmer, but it doesn’t show up glittery once applied to your face. It is also very buildable, you can apply a little or a lot and it never gets cakey looking! I can’t get enough of this product, it reminds me a lot of my Hourglass Ambient Light Bronzer which is my holy-grail, all time favorite! It comes in a lot of shades, so I am sure you will be able to find one that suits your skin tone best! I have a feeling this is going to be my new favorite bronzer for summertime!  


Thank you for reading my reviews on some of these new high end makeup releases! I enjoy testing and trying out these products so much. It makes me so happy to write these posts and share helpful information with you all! I love reading your comments, I try to reply to everyone so please let me know what makeup you can’t put down recently! I really want to get some new drugstore products and do an affordable, every day makeup look, so leave me your suggestions for that as well! 


Side note: The amount of confused looks I got from fellow beachgoers to take these photos was hilarious 😂 I suppose it’s “frowned upon” to whip out a makeup bag and prop new products up in the sand and yell at seagulls to get out of your shot…who knew…🤷🏽‍♀️


Follow me on Instagram: @abigaillindsayblog


Email any business inquires to:

abigaillindsayblog@gmail.com  

Favorite Nude Lip Glosses!


I didn’t always love wearing lipgloss. For a long time, I only bought liquid lipsticks and preferred drying, matte lip products. Recently, that has changed completely and I’ve found a new love for hydrated, glossy looking lips! My favorite colors to wear are nude shades, just because they are easy to create an eye look around. Plus, I don’t worry too much about transfer or a messy application when it’s a natural shade. There are so many different types of lip glosses on the market and I wanted to share with you my tried and true favorites! I also wanted to show you some swatches of the colors, just so you can see opacity and the look of it applied on a medium skin tone.        


Buxom “Full-On Lip Cream”, $20.


These are by far my favorite lip glosses! I have recommended them to so many people and they work so well! There are a ton of shades in the range, so there is something for anyone, whether they love natural or colorful glosses. The nude colors I love most are White Russian and Hot Toddy! White Russian is a milky, light pink shade and Hot Toddy is more of a brown, peach color. They are very high-shine and plumping, but they definitely don’t burn and sting like a lot of lip plumping glosses do. It is more of a minty/cooling sensation once applied. I will say this is a stickier gloss, definitely not anything uncomfortable, but you can feel them on your lips and it is slightly tacky. However, I think that’s what makes them last throughout the day, so I really don’t mind it at all. They aren’t extremely opaque, but they do provide a hint of color to the lips. Also I absolutely have to mention the delicious vanilla mint smell! I have so many of these glosses and I will continue to repurchase them because to me, they’re absolutely perfect! 


Sephora “Outrageous Effect Volume Lip”, $12.


This gloss is pretty new to my collection, but over the past month it has become one of my new favorites! This is another lip plumper gloss, but I’m happy to report it doesn’t burn or cause any painful sensations! I love the color of the gloss and it is actually very similar in formula to the Buxom glosses (except this one is cheaper, woo!) There are only 4 shades so far, which is kind of a bummer, but the “02” color that I picked up is a beautiful brown, nude shade. It is super high shine once applied to the lips and it also has the best applicator! The only downfall for this one, is the scent. I really don’t know how to describe it, but it’s like a chemical cinnamon type of smell, which I am definitely not here for. Once I get past that, I really do love the way this gloss looks on my lips! I’ve gotten so many compliments every time I wear it out, which is always a great sign! I’m going to try out the other colors, but for now, this one is getting a lot of use in my collection! 


Bare Minerals “Gen Nude Buttercream Lipgloss”, $18. 


If you are looking for a really beautiful shimmery lip gloss, this is the one for you! The shade I’m obsessed with is called, “Fly” and it is described as a “radiant tan with gold pearl” which is basically perfection for summertime. These are very lightweight and moisturizing, plus they’re not sticky at all. I love that they have a balmy texture, making them super comfortable and easy to throw on when rushing out the door! I typically steer clear of glosses with shimmer in them, but this one gives the most subtle highlighted effect to the lips. This shade perfectly completes a bronze or golden makeup look, which are my favorite to wear! There are a lot of other shades in this range that seem equally as stunning, I want to try the colors “Far Out” and “Snarky” next! 


Too Faced, “Sweet Peach Creamy Peach Oil Lip Gloss”, $19.


This formula is definitely more of a nourishing oil, than a standard lip gloss, but I wanted to mention it anyways because I use it all the time and it does give a shiny look to my lips! This is a very lightweight, creamy product that is also opaque! I love that you get so much great color payoff and can really do a complete lip look with one product. The only downside to this product would be that it doesn’t last very long, but it doesn’t claim to and honestly, I never expected something with a slippery, oil-like texture to resist fading and transferring throughout the day. One of the greatest aspects to this lip gloss is the amazing fresh peach smell! The color “Papa Don’t Peach” is a warm peach color that is super close to the natural shade of my lips. I find that this is my go-to product when I want something really comfortable and hydrating, which is perfect for these warm summer months! 


NYX “Butter Gloss”, $4.99.


I have gone through so many of these glosses over the years! They are the best at the drugstore and have 34 shades, so you’re bound to find your perfect color! I would describe these as very creamy, with a medium opacity. You can definitely layer these over lipsticks, but you don’t have to! I am usually not a huge fan of baby pink nude shades, but “Creme Brûlée” is just so dang beautiful! I love that they smell like Angel Food Cake and give such great shine without being sticky! The texture is literally like butter! I would highly recommend these to anyone. Even if you don’t like an all-over glossy look, you can just use these in the middle of your lips to make them appear fuller. Trust me, these will be your new bestie! 


Thank you for reading this post on my favorite nude lip glosses! I hope I helped you discover a new shade or formula that would fit your preferences! I am a fiend when it comes to good nude lip products, so please leave me some recommendations in the comments! Have a great week! 


Follow me on Instagram: @abigaillindsayblog


Email any business inquires to:

abigaillindsayblog@gmail.com  

Soft Spring Makeup Look!

It’s finally Spring and I could not be happier! It’s so refreshing to experience warm weather and I love seeing the sunlight at 6:00 pm! With that said, I’ve been going a little more natural with my makeup just because I want to look really fresh and dewy on a daily basis. I’m sharing an updated everyday makeup routine in case you’re like me and enjoy switching things up based on the seasons! I’m focusing on making my skin as flawless as possible, without looking heavy. Also you can see that I’m choosing natural colors on the eyes, with peach-tones for my blush and lip color!     


The first step in this routine is to apply a luminous primer all over my skin to give me a lit-from-within look. My absolute favorite one is the L’Oreal “Magic Lumi” because it evens out my skin tone and gives me a sheer glow, rather than a glittery or oily effect. Next, I apply my foundation and concealer with a damp beauty sponge, I’ve been loving the new pink one by L’Oreal, but feel free to use whatever you have on hand! I have been obsessed with the L’Oreal “Pro Glow” liquid foundation for giving my skin a luminous, natural finish. If you have oily skin, try their “Pro Matte” version, which is another one of my favorites. The Tarte “Shape Tape” concealer is one of my holy grail makeup products and definitely something you should invest in if you have dark circles! This product will not settle into fine lines and it has awesome, full coverage without ever looking heavy. I place my concealer in an upside down triangle underneath my eyes and I blend some additional dots on the center of my forehead and chin, just to even out the brightness. To keep the glowing look of the skin, but also control my oil, I set my entire face with the Too Faced “Primed and Poreless Pressed Powder.” This is an awesome translucent powder to set your makeup, without adding any additional coverage. Be careful not to add too many layers of this product, or you will end up with the unfortunate white flash back if you are using this powder during photography sessions! I also take the yellow shade from the Tarte “Tarteist” contour palette to set my under eyes and give them an extra layer of brightness! My favorite bronzer to use with this kind of look is the the Too Faced “Sweet Hearts Bronzer” in the shade, “Sweet Tea.” It is a neutral bronze color, so not too orange or too ashy. It has a radiant finish, which looks great in natural lighting! I love a super bright and shimmery highlight for this time of the year, so the Tarte highlight in “Stunner” has been my new obsession! This is by far the longest lasting highlight in my collection, it seriously stays on my cheeks for the entire day without fading! I’m so shocked by the pigmentation and blinding effect is gives my face. In the pan, it looks like it would be too dark for my medium skin tone, but once you apply it, you’ll see that it shows up beautifully! For blush, I used my new favorite Mally blush in the color, “Perfect Peach.” I think this is going to be so gorgeous once I have a deep, olive tan this summer. This is also very long lasting, which is an awesome added bonus! 


For the eyes, I really want to keep it super simple and as neutral as I can! I love my Too Faced “Natural Matte” palette because it’s so easy to create a simple look from the color selection, it’s a no-brainer makeup item. I set my entire eyelid with the shade, “Heaven” to help my other shadows blend effortlessly. I blend “Honey Butter” into the crease to give subtle dimension. I took “Strapless” just on the outer edge to give the look a little extra drama. I also blended this shade on my lower lash line for cohesiveness! My lid shade is the beautiful ColourPop eyeshadow in the shade, “Lovely” and may I just say, I could wear this color every day and be perfectly happy. It’s super pigmented and gives the eyes just enough sparkle! I did black winged liner, per usual and used my Tarte “Rainforest of the Sea So Fine” liner. Feel free to not do eyeliner, or use a brown color to make the eyes appear more natural. I used one of my new favorite drugstore mascaras, the Maybelline “Lash Sensational” is super nice! It really separates and volumizes like a high-end mascara would! For the lips, I used my brand new Tarte “Rainforest of the Sea Color Splash” lipstick in the shade “Sunkissed,” which is probably my new favorite lipstick color and formula! These are so buttery and long lasting, perfect for spring and summer when your lips naturally feel more dry! I topped that off with all-time favorite nude gloss by Buxom in the shade “White Russian” to match the rest of my dewy makeup look! I didn’t include a photo, but I sprayed my entire face with the Urban Decay “All-Nighter” setting spray to lock my face into place and blend all the products with one another! 


Did you enjoy reading this post? Let me know in the comments below! I read and respond to every person and love interacting with you! I want to know your must-have makeup products for Spring 2017! Thank you for reading! 


Follow me on Instagram: @abigaillindsayblog


Email any business inquires to:

abigaillindsayblog@gmail.com  

Mally Beauty “Effortlessly Airbrushed Blush & Highlighter” Review and Swatches!


As someone that thrives off golden highlighter and warm-toned blush, I about fainted when I saw the new Mally Beauty “Effortlessly Airbrushed Blush & Highlighter” in the shade “Perfect Peach!” For $35, you get a pigmented, beautiful blush and a dimensional, golden highlight shade! I haven’t been this excited over a new makeup product in awhile, so I would highly recommend trying it out! This is my first purchase from Mally Beauty and I am so beyond impressed! There is also a “Pretty Pink” set, if you prefer more mauve, true pink colored blushes and a champagne colored highlight!     


The formula of the blush and highlight is so soft and pigmented! The blush is actually very natural looking. You can easily layer it to look more intense or wear it more sheer for a “no-makeup” makeup look! I love this blush shade in, “Perfect Peach” and would totally purchase it in the full-size! I find that I have nothing like it in my current collection. The color is a very true warm, orange-peach color that has the smallest touch of pink. I would describe this product as having a satin-matte finish because it’s not completely flat once applied on the face, but also not shimmery at all. It lasts all day on my face without fading or changing color, which is a major plus! 


The highlight is in the shade, “Stardust” and I think it’s easily becoming my most reached for product! I use this whether I’m doing a full-glam or natural makeup look! It gives the very trendy and desired “wet-look” to the tops of my cheek bones. It’s a true gold highlight, but it’s brighter than Laura Geller “Gilded Honey” (my all time fav) or Becca “Champagne Pop.” I love how it doesn’t emphasize any texture on my face since it’s not glittery whatsoever. It also layers on top of cream highlights so perfectly, which is somewhat hard to find in a powder product! Just like the blush, this highlight also lasts for such a long time! I honestly get so many complements whenever I wear this product and everyone is always so surprised when I tell them it’s by Mally! 


I would highly recommend this duo to anyone that loves wearing blush and highlight! I think everyone should try this product out because it’s SO good! The quality is there and the price is right, so what do you have to lose?! It does come in two color options, but I have not tried out the “Pretty Pink” set. I’m definitely going to be purchasing to check for consistency in the line! What products do you love by Mally Beauty?! Have you tried out the “Effortlessly Airbrushed Blush & Highlighter” yet? What do you think?! Let me know in the comments! Thank you for reading! 


Follow me on Instagram: @abigaillindsayblog


Email any business inquires to:

abigaillindsayblog@gmail.com  

Tarte “Skin Twinkle Lighting Palette: Volume 2” Review and Swatches!


Glow, baby! Glow! I cannot get enough highlight in my life and I’m so tempted whenever I see my favorite makeup brands release new products to make my skin look lit from within! The new Tarte “Skin Twinkle Lighting Palette: Volume 2” is seriously glow goals. I wanted to review this highlighting/strobing palette because these shades are truly some of the best I’ve ever used. I love how universal this product is too, it really can work for any skin tone! At $42 for 4 highlight shades, I think this palette is totally worth it since that’s only about $10 per highlight, which is on par with drugstore makeup brands! If you are a makeup artist and do a lot of bridal/special occasion makeup, I would highly recommend because of the variety in shades and long-wearing formula! These are so creamy and blendable and they will not cling to any dry patches or emphasize skin texture. They’re super shimmery, but not glittery! If you’re a fan of the lit-from-within, glossy highlight then you will really love this formula!        


The first shade is, “Daylight” which is described as a white gold! I love this color because it is so bright and has a gorgeous golden shimmer throughout. I find that this is pretty unique because many of my white-pearly colors have a silver or champagne shimmer, making them look a little cool-toned once applied to the face! I think this is perfect for fair skinned gals! I personally cannot wear this color because it’s too light, but I love mixing it with the second shade and placing it on the very tops of my cheekbones and under the brow bone! On its own, it makes an amazing inner corner highlight! 


The second shade is called, “Skylight” and this is a true light pearl shade with a silver/champagne micro-shimmer! Although this color is gorgeous, I typically do not grab for a cool-toned highlight on a daily basis! However, if I were to use gray eye shadows or a cool-toned pink blush, I would definitely use this shade in combination with one of the more golden colors in the palette! It’s amazing how evenly pigmented this color is and how bright it reflects in-person and in photography! 


Next, is my absolute favorite highlight and the color I cannot stop wearing, “Spotlight.” It is a true golden shade with champagne shimmer! I love this color so much because it compliments my medium-olive skin tone and gives me a gorgeous, noticeable glow! I basically bathe in this color since it’s so glossy! This is also the main color I mix with the two lighter shades to get a even brighter highlight that is borderline blinding. I would compare this color to Laura Geller “Gilded Honey” highlight, which is my all-time favorite product! 


Lastly, we have “Candlelight,” which is the perfect rose-gold, copper color! If you have tan to dark skin tones you will love this color! I’m so excited for this to be my go-to shade whenever I’m more tan in the summertime! I can picture this color melting beautifully into a peach blush or bronzer and giving the skin a healthy tan glow! 
     

If you are a highlight lover like me, then I would totally purchase this palette! It’s absolutely worth it since it’s made with awesome skincare ingredients like algae and marine flower to help smooth and soften skin to minimize the appearance of fine lines and wrinkles! Coconut and vitamin E to provide moisture and enhance skin elasticity! I love this because I always use great skincare products underneath my makeup, but it’s awesome to know that what I’m laying over top of that is also helping maintain my healthy skin! I’ve noticed that all of the Tarte “Rainforest of the Sea” products are super creamy and hydrating, which I especially love using in these drier, winter months! I really hope you enjoyed reading my review on the new Tarte “Skin Twinkle Lighting Palette: Volume 2!” I have been using this product non-stop since I first bought it and I see no reason to slow down! I decided to post this now that Tarte’s website has this item back in stock after it’s been sold out for a few weeks! I would recommend getting your hands on it as soon as possible! 


I really want to try out some new drugstore makeup products for my next blog post, but I want to know which ones specifically you would like to see put to the test! Please leave me a comment below of a new, affordable makeup product that you’ve been dying to see used in a tutorial/first impressions post! There are so many new products that I just want to buy everything, so I would love any extra help narrowing down my shopping list! Thank you again for reading! 


Shop this product here!


Follow me on Instagram: @abigaillindsayblog


Email any business inquires to:

abigaillindsayblog@gmail.com