Kylie Jenner Lip Trend On Any Budget 

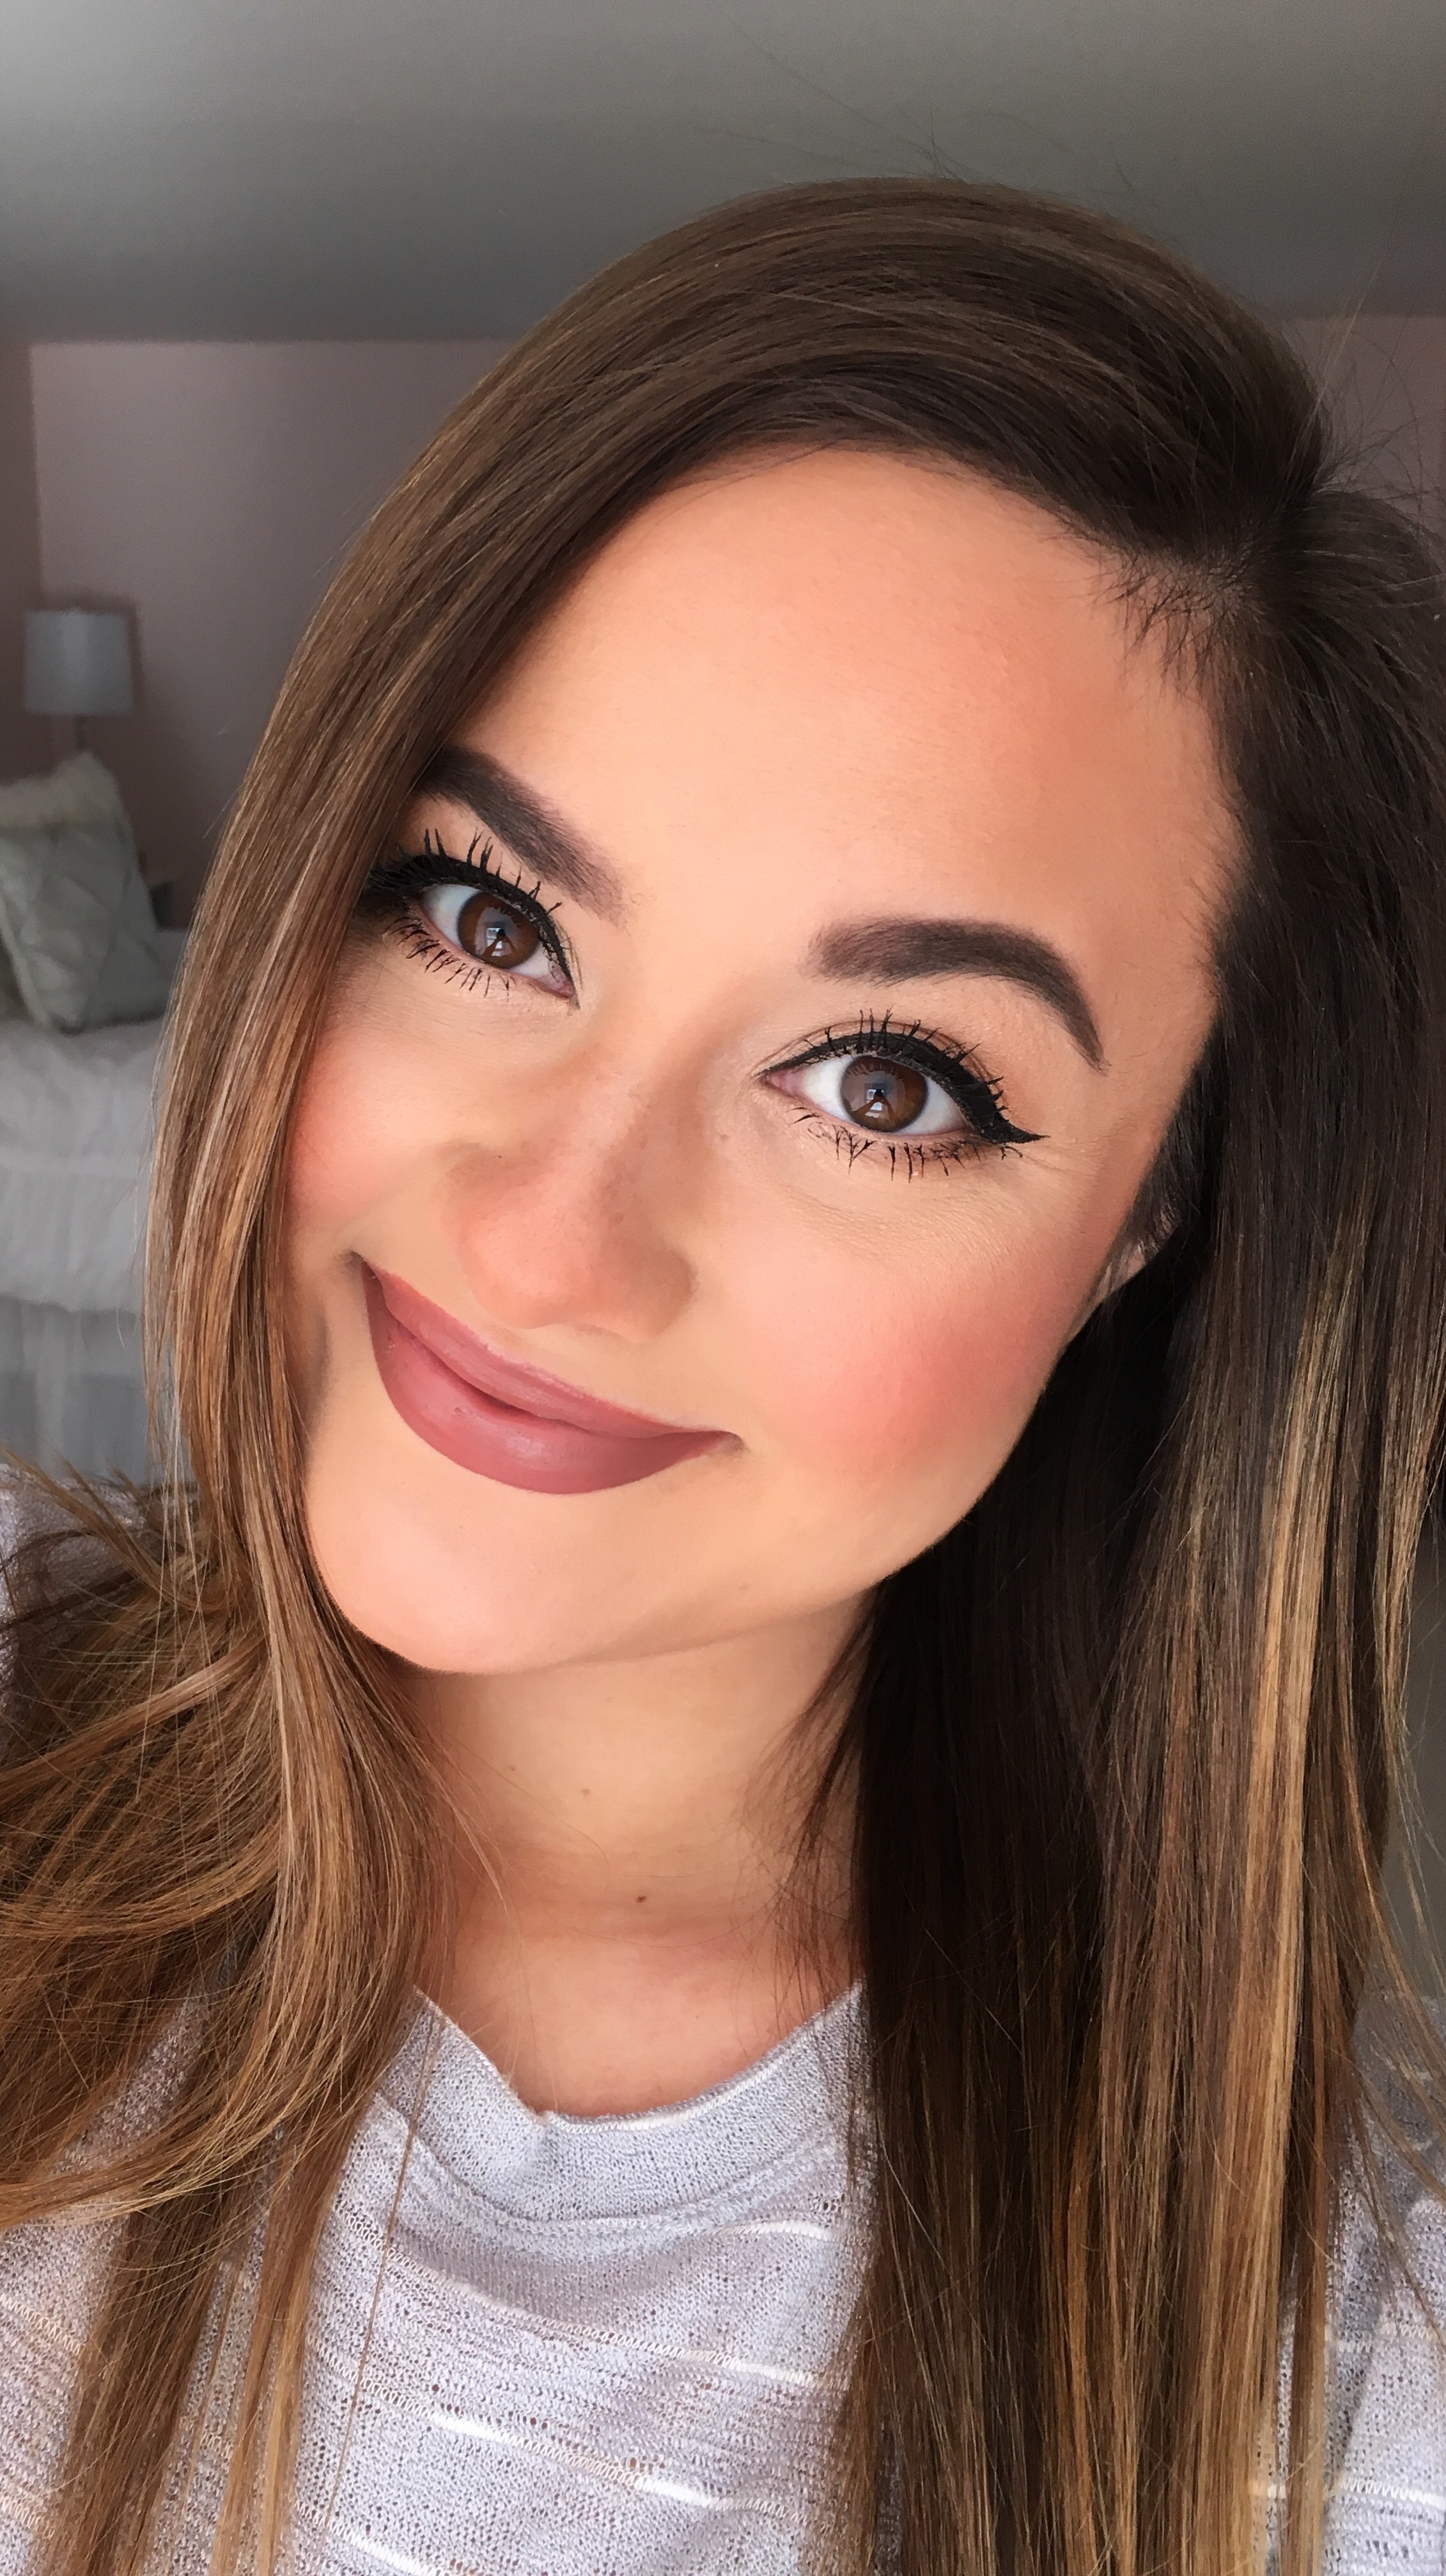
Lipstick can completely transform a makeup look. Recently, mauve toned lip products have become the new neutral. I’ve seen these colors paired with both dramatic and natural eye looks. Even if you are annoyed by Kylie Jenner, you can’t deny her makeup always looks amazing. I wanted to post about the mauve toned, matte lipsticks that have become significantly popular since she started wearing them. I have found some of the best formulas in this color range, both from the drug store and high-end beauty retailers. Although they’re not the exact duplicates of what she wears, I do believe they’re extremely similar. I did include some glossier, more sheer options for those who want to achieve the same sort of rosy-brown effect, but do not enjoy the drying formula of liquid lipsticks. I also added my favorite expensive and inexpensive lip liners to emphasize your pout. I suggest filling your lips entirely in with the liner so you don’t have harsh lines or patchiness when any lip product you put over it starts to wear off!

I love each of these lip liners so much! They are basically all the exact same color and only differ in formulation. The Jordana lip liner is great for the price, but doesn’t last more than a couple hours. The Revlon actually does live up to its “Colorstay” name and wears really well throughout the day. My favorite liner in the bunch is the Makeup Forever because although it is the most expensive, it lasts throughout the entire day and never fades or transfers. Lastly, I had to include M.A.C’s infamous “Whirl” lip liner. When interviewed about her lips, Kylie Jenner mentioned this was her favorite. I do like the color of this product, but I personally prefer a creamier formula and this is a bit dry. 

Jordana Easyliner for Lips Retractable Pencil, Tawny, $1.99. Revlon Colorstay Lipliner, Mauve, $7.59. Makeup Forever Aqua Lip Waterproof Lipliner Pencil, 3C, $19. M.A.C Lip Pencil, Whirl, $16.50.


On to drugstore lip options! I am so obsessed with ColourPop lip products. Their Lippie Stix and Ultra Matte Liquid Lipsticks allow you to stay on trend with makeup without spending a lot of money. “Oh Snap” is a great rosy nude shade and does not dry out your lips even though it’s matte. “Midi” is a neutral, dusty pink shade that would compliment light to medium skin tones. Whenever I get really tan, I find that this shade is just too light for me. “Trap” is a really unique, cool toned mauve that has a hint of gray mixed in. This is a really beautiful color that I always get compliments on when wearing. My favorite out of the bunch, is the NYX Lip Cream in “Sable.” It is seriously so good. The formula is creamy, but dries matte on the lips. It is a perfect warm-nude shade that compliments any makeup look. I love wearing this color with a simple eye look since it’s basically the color of my natural lips. If you like hydrating lipsticks that are more sheer in opacity, I think you will really enjoy NYX Butter Lipstick in Pops. This is more of a pink color that is flattering on any skin tone. The formula literally feels like butter on your lips and hydrates the same as a Chapstick. Conversely, if you enjoy the ultra matte look of liquid lipsticks, I think you would enjoy the NYX Soft Matte Lip Creams. They are a moussey texture that dries down extremely matte. I personally can only wear this formula with a lip primer or Chapstick underneath. The shade “Stockholm” is very nude, but has enough brown undertones to make it wearable. 

ColourPop Matte Lippie Stix, Oh Snap, $5. ColourPop Ultra Matte Lip, Midi, $6. ColourPop Ultra Matte Lip, Trap, $6. NYX Simply Nude Lip Cream, Sable, $6.50. NYX Butter Lipstick, Pops, $5.99. NYX Soft Matte Lip Cream, Stockholm, $5.99.


Here are my favorites from high end brands at Sephora and Ulta! First the Sephora Cream Lip Stain is incredible. The formula is light and moussey and dries to a soft, matte finish. I enjoy this particular liquid lipstick because it stains your lips. After eating or drinking, which naturally wears your lip product off, this color will still remain visible! Next is the Ciate Liquid Velvet lipstick. I do enjoy this formula because it doesn’t transfer and dries almost immediately after application! However, it is extremely drying and will emphasize any cracks on your lips. Onto the cult favorite, Kat Von D liquid lipstick in Lolita. If you’re interested in this shade, you have to act fast and purchase when you see it in stock at Sephora. It is constantly sold out because it is just that good. I have gone through an entire full sized tube of this product because I find it suits my skin tone so well! It will last up to 5 hours on my lips, which is impressive! The Lorac lipstick is great too. I think the undertones in this product are natural and beautiful. It is also in twist-up packaging that makes it convenient for on-the-go application! I decided to include the Nars Lipstick in “Dolce Vita” because it is my favorite lipstick, ever. I find that this color is sheer, but not overly glossy. It is long lasting and also moisturizes your lips as you wear it throughout the day. The Kat Von D lipstick in Lolita is totally different than the liquid lipstick version. Although it is a matte formula, it still is smooth on your lips. The color is also really different as you can see in the swatches below. The lipstick version has more of a warm, terracota undertone. I find this is more wearable on a day-to-day basis than the liquid lipstick version because it is lighter in color and doesn’t have the dramatic look of a completely opaque formula. 

SEPHORA COLLECTION Cream Lip Stain, #13, $14. Ciate London Liquid Velvet – Moisturizing Matte Liquid Lipstick, Pin Up, $19. Kat Von D Everlasting Liquid Lipstick, Lolita, $20. Lorac Pro Matte Lip Color, Pink Taupe, $18. NARS Audacious Lip Stick, Dolce Vita, $32. Kat Von D Studded Kiss Lip Stick, Lolita, $21.


I really hope that by this point, you have compiled a shopping list of new lipsticks to try out! Thanks for reading! 

Tarte Rainforest of the Sea: “Drink Of H2O Hydrating Boost” and “Aquacealer” Review

I’ve always loved the brand Tarte. Their beauty products are created with all-natural, dermatologist tested ingredients. They exclude popular cosmetic toxins from their formulas, specifically parabens and phthalates, which I greatly appreciate. Their products are highly pigmented and long lasting, which is rare to find in an all-natural beauty brand. Basically, you can feel good about what you’re putting on your face whenever you use Tarte. With this said, they’ve been one of my favorite brands for years and I’m always drawn to their newly released products.      

Recently, they have launched their “Rainforest of the Sea” collection that claims to reduce the appearance of wrinkles and fine lines through their proprietary blend of algae and marine flower. Other natural ingredients promoted throughout this line are coconut for hydration and cucumber for calming and smoothing. You can imagine my excitement to test out these products. I love makeup in general, but I really love makeup that incorporates skin care benefits into their formulation. You can find this limited edition collection exclusively at Tarte and Sephora

 I decided to only test out the two products I was most drawn to in the “Rainforest of the Sea” collection. Spoiler alert: I could not be more impressed with the way they performed on my skin! 


I love the blue and purple packaging for this collection!


My first impression of the hydrating boost is I LOVE IT! Perfect for moisturizing and priming all in one step. This product went on with a smooth, gel-like consistency. I felt a noticeable cooling effect on my skin too. Once I let this sink into my skin and dry a bit, I was able to effortlessly blend in my foundation. I believe this product contributed to the longevity of my makeup and also hydrated my skin throughout the day!

TARTE Rainforest of the Sea Drink Of H2O Hydrating Boost , $39


I had very high hopes for the concealer in this collection because of the hydrating properties in the “Rainforest of the Sea” blend. My under eye area not only suffers from dark circles, but also fine lines and dryness.       

TARTE Rainforest of the Sea Aquacealer Concealer, $26

I decided to lay my Becca Under Eye Brightening Corrector underneath my eyes first, to completely cancel out the blue tones in my dark circles. This way I could apply a lighter layer of the Aquacealer concealer over top and prevent product build up, which causes creasing! A tip for blending out fine lines is to look up, take your damp beauty blender and blend back and forth over the concealer, then dip your beauty blender in loose translucent powder and tap in those areas! Then when you look down, you’ll see completely set under eyes that are bright and crease-free! 

I am using the shade Light-Medium. I like to choose a concealer 1-2 shades lighter than my skin tone for a brightening effect.

After testing these products out for a couple weeks, I believe they really work in the ways they claim to. The moisturizing boost definitely calms and hydrates my skin. It primes really well and the rest of my makeup lays beautifully on top. I noticed this product did extend the longevity of my face makeup! 

The Aquacealer concealer is my new favorite! It is such a light, almost watery formula; it feels like you’re not even wearing concealer! It doesn’t crease and the color will not fade throughout the day! I unfortunately would not recommend this product to someone with oily skin because I think it could look patchy if added moisture began breaking through. If you have combination, normal or dry skin, I think you would really enjoy this product. This is going to be the perfect Summer makeup item because it’s not heavy and you won’t have to worry about it melting off! 


 I hope you enjoyed this review, let me know other products you would like for me to try out! Thanks for reading! 

That Glow Though!

A major Spring beauty trend is to look glowy and fresh! By using products that have shimmer and other light reflecting properties, you can give your skin a “lit from within” look. Sometimes it’s hard to maintain a glow without looking greasy throughout the day. If you have combination to oily skin, you may find it hard to incorporate this trend into your daily routine. However, I have some strategies to help you create that healthy, natural glow without looking oily.

  
For this entire makeup look, I am using the new Anastasia Glow Kit in the color “That Glow.” This is an incredible value when you break it down and realize that for only $40 you are getting FOUR very different, but wearable highlighters! The formula on this product is amazing! The smooth texture gives more of a dewy effect, rather than straight shimmer on your face, which is nice if you want to go for a more natural look! 


Anastasia Beverly Hills Glow Kit, $40


Swatches of each shade on my olive skin tone!


To begin this look, you need to start by priming your face. This will create a smooth canvas for foundation and powder to lay on. Some highlighters are problematic in the sense that they cling to texture on the face. If you have a breakout or enlarged pores, you may find that your unprimed face will emphasize these areas with added shimmer. 

   
I choose to use a combination of a hydrating primer and a mattifying, pore minimizing primer. My favorite combination is to use the Too Faced Hangover Replenishing Face Primer all over my face and the NYX Angel Veil Primer in my oily t-zone and the places I have enlarged pores.

     
With a damp beauty blender, I begin applying a mattifying foundation all over my face to make sure my natural oils do not break through the rest of my makeup throughout the day. A great, inexpensive foundation is the L’Oreal Infallible Pro Matte Foundation. This will make sure your highlight doesn’t turn into a slippery mess within a couple hours of wear.

     
The most important step, is to set your face with a translucent powder! My favorite is the Laura Mercier Translucent Loose Setting Powder because it never looks cakey and does not alter the color of your foundation. This will lock in all of the liquids applied to the face and create a soft canvas to blend powders on! 

      
The next step is totally optional, but it’s what makes my highlight last all day long. With my fingertips, I place some of Benefit Cosmetics Watt’s Up cream highlighter on my cheekbones, down the bridge of my nose, underneath my eyebrows and on my Cupid’s bow. These are the areas on the face you want to highlight, since they naturally catch sunlight. I set those places I placed the cream highlight with whatever powder highlight I choose for the day! I’ve noticed I receive the most compliments and questions on the highlighter I’m wearing whenever I do this extra step! 

Too Faced Hangover Replenishing Face Primer, $32. NYX Angel Veil Skin Perfecting Primer, $15.99. L’Oreal Infallible Pro-Matte 24HR Foundation, $12.99. Laura Mercier Translucent Loose Setting Powder, $38. Benefit Cosmetics Watt’s Up! Cream Highlighter, $30.

Now check out these awkward photos of me trying to capture the difference between an all matte face and a highlighted one! 

Before


After


I hope you enjoyed this in depth look at highlighting and learned some great tips along the way! And I know when that highlight bling, that can only mean one thing…(that you did in fact read this blog post.)

Holy Grail Mascara Routine

When asked, “What makeup item could you never live without?” My instant response is MASCARA! One coat and my entire appearance changes. It was the first beauty product I was gifted by my Mom when I wanted to begin wearing makeup, so it holds sentimental value as well.   

Over the years, I have tried dozens of different mascaras, both from the drugstore and high end beauty retailers. I finally believe I have perfected the look of my lashes and found the secret formula to keeping them lifted all day long. Not to mention, flake free and ultra black. 

My favorite aspect about this routine is it features two mascaras, which only cost a combined total of $20! This is less than a single mascara from a high end brand! Not to mention, you can usually find coupons for drugstore brands, such as L’Oreal and use them towards this purchase! Keep reading to find out how I achieve a false lash look on a daily basis with drugstore mascaras!

What you will need:  

Tarte Eyelash Curler , $18


L’Oreal Voluminous Miss Manga Rock Mascara in Blackest Black, $7.99 and L’Oreal Telescopic Carbon Black Mascara, $9.99


To begin this process, I first curl my eyelashes with my favorite Tarte Eyelash Curler. This will create a clear visual for your mascara application and allow you to see the lash from root to tip.

 
Next, apply one coat of the L’Oreal Miss Manga Rock mascara to your top lashes. Wait about 20 seconds for that to dry and then apply a second coat. This will build up your volume and the ultra black formula covers even the lightest colored eyelashes.

After that has set for about 30 seconds, proceed with one coat of the L’Oreal Telescopic mascara. Although this extra step may seem unnecessary, this particular formula is focused on lengthening lashes and removes any clumps from the previous Miss Manga Rock mascara. 

Then repeat this process on your lower lashes if you enjoy the look of both top and bottom mascara. I find that this personally gives me the wide-eye effect I prefer. 

Look at the difference I made by just adding mascara on one eye! 

I timed this mascara routine and found it takes about four minutes from beginning to end to complete. This included the inevitable mistakes of dotting mascara on my eyelid and having to remove it after. An important tip is to let the mascara dry when you accidentally get it on or around your eyelid area. Then once it sets, take a Q-Tip and gently wipe away to remove all traces of the spot! This trick has prevented the frustrating smudging and smearing that comes with prematurely fixing mascara mistakes! 

Please keep in mind that this mascara routine works for me because I enjoy the look of bold, defined eyelashes! Feel free to use one mascara or a dark brown formula if you enjoy a more natural effect to your eyelashes! The best part about makeup is it washes off, so enjoy trying different techniques and see what works best for you! Thanks for reading! 


Becca Cosmetics Under Eye Brightening Corrector

Color correcting has been the latest beauty trend featured across all social media. Many makeup brands have created new product lines to keep up with the demand. On my bare face, it is clear to see that dark circles are my problem area. To counteract the blue tones underneath my eyes, it is recommended to use a peach colored corrector to brighten and lift.

Becca Cosmetics is a brand that I have always trusted and never experienced a skin sensitivity with, so I decided to pick up their “Under Eye Brightening Corrector.”


I would recommend this product to anyone that feels their dark circles are not fully covered by concealer. The light reflecting properties in the formula brighten beautifully and make a difference in the way any concealer blends and settles on top of it. I noticed this product also extended the wear time of my concealer and kept my under eyes looking bright for 12 hours!

In this comparison, the top photo shows my bare under eye area without any corrector or concealer. The photo underneath is with the Becca Under Eye Brightening Corrector. I see a visible difference between the two photos. After I applied the product, I achieved a  brighter and more lifted appearance.


This magical pot of gold retails for $30 at Sephora and Ulta. I know what you’re thinking, 0.16oz. is a small amount of product for that price…however, when it truly does exactly what it claims to do, I see the value in the product. Also you need the tiniest bit to completely cover your under eye area. You’ll be able to get the most out of your money with this type of product that offers longevity and coverage.

I found this product is applied best by using patting motions with your ring finger. The warmth from your hand will smooth the creamy formula on, while your ring finger delivers the least amount of pressure to ensure a wrinkle-free application. I then used concealer over top of the corrector to match my under eyes to my foundation. I recommend using the Urban Decay Weightless Concealer, applied with a damp beauty blender. This step pulls everything together and gives a natural, but brightened look.

Please leave a comment below if you’ve tried the Becca Under Eye Brightening Corrector or if you have any suggestions for future product reviews!