Nighttime Skin Care Routine

Clarisonic Mia 2 Skin Cleansing System, $149. First Aid Beauty Ultra Repair Wash, $25. Origins Original Skin Renewal Serum with Willowherb, $39. Origins Dr. Andrew Weil for Origins Mega-Bright Dark Circle Minimizer, $42. Origins High Potency Night-A-Mins Mineral-Enriched Renewal Cream, $43. It Cosmetics Confidence in a Cream Transforming Moisturizing Super Cream, $48. SEPHORA COLLECTION Mud Mask Purifying & Mattifying, $20.


Here is my nighttime skin care routine that I have been using for the last few months! I feel like I can see a noticeable difference in the way my skin looks and feels. Some of my personal problem areas are enlarged pores, uneven texture, dullness and dark spots. So far, I have noticed a significant decrease in my uneven texture and dark spots. I am so thankful that they have started to disappear because now I feel confident even when I am not wearing foundation! I accredit a lot of my skin’s improvement to my Clarisonic. I started using it in July of 2014 and was immediately blown away by the results. My texture has improved significantly and I believe the exfoliating properties have brightened the overall tone of my skin. Whenever I stop using my Clarisonic, I instantly notice my skin looking dull and patchy. I fully believe that the improvements I’ve noticed over time are because of this device. If you only invest in one skin care item from this post, I would highly recommend purchasing the Clarisonic because it has changed my skin completely and is the reason I no longer suffer from cystic acne breakouts. All of these products mostly stay the same throughout the year, but I do switch up certain products based on the season, since sometimes I suffer from oily skin in the Summer months! This is the current routine that I have been using for the past four months and truly believe my skin has never looked better!

Clarisonic Mia 2 Skin Cleansing System, $149. First Aid Beauty Ultra Repair Wash, $25.

I always shower at night, so I begin my nighttime routine with washing my face! I rinse my face a few times with just water to break down the majority of my makeup. Next, I place the First Aid Beauty Ultra Repair Wash onto my face and gently work the product into a slightly foamy texture. I then make sure my Clarisonic brush head is wet to begin cleansing! If you don’t know already, this device washes your skin through sonic pulses that feel like vibrations on your face! This is supposed to cleanse on a deeper level and resurface the appearance of your natural skin. 

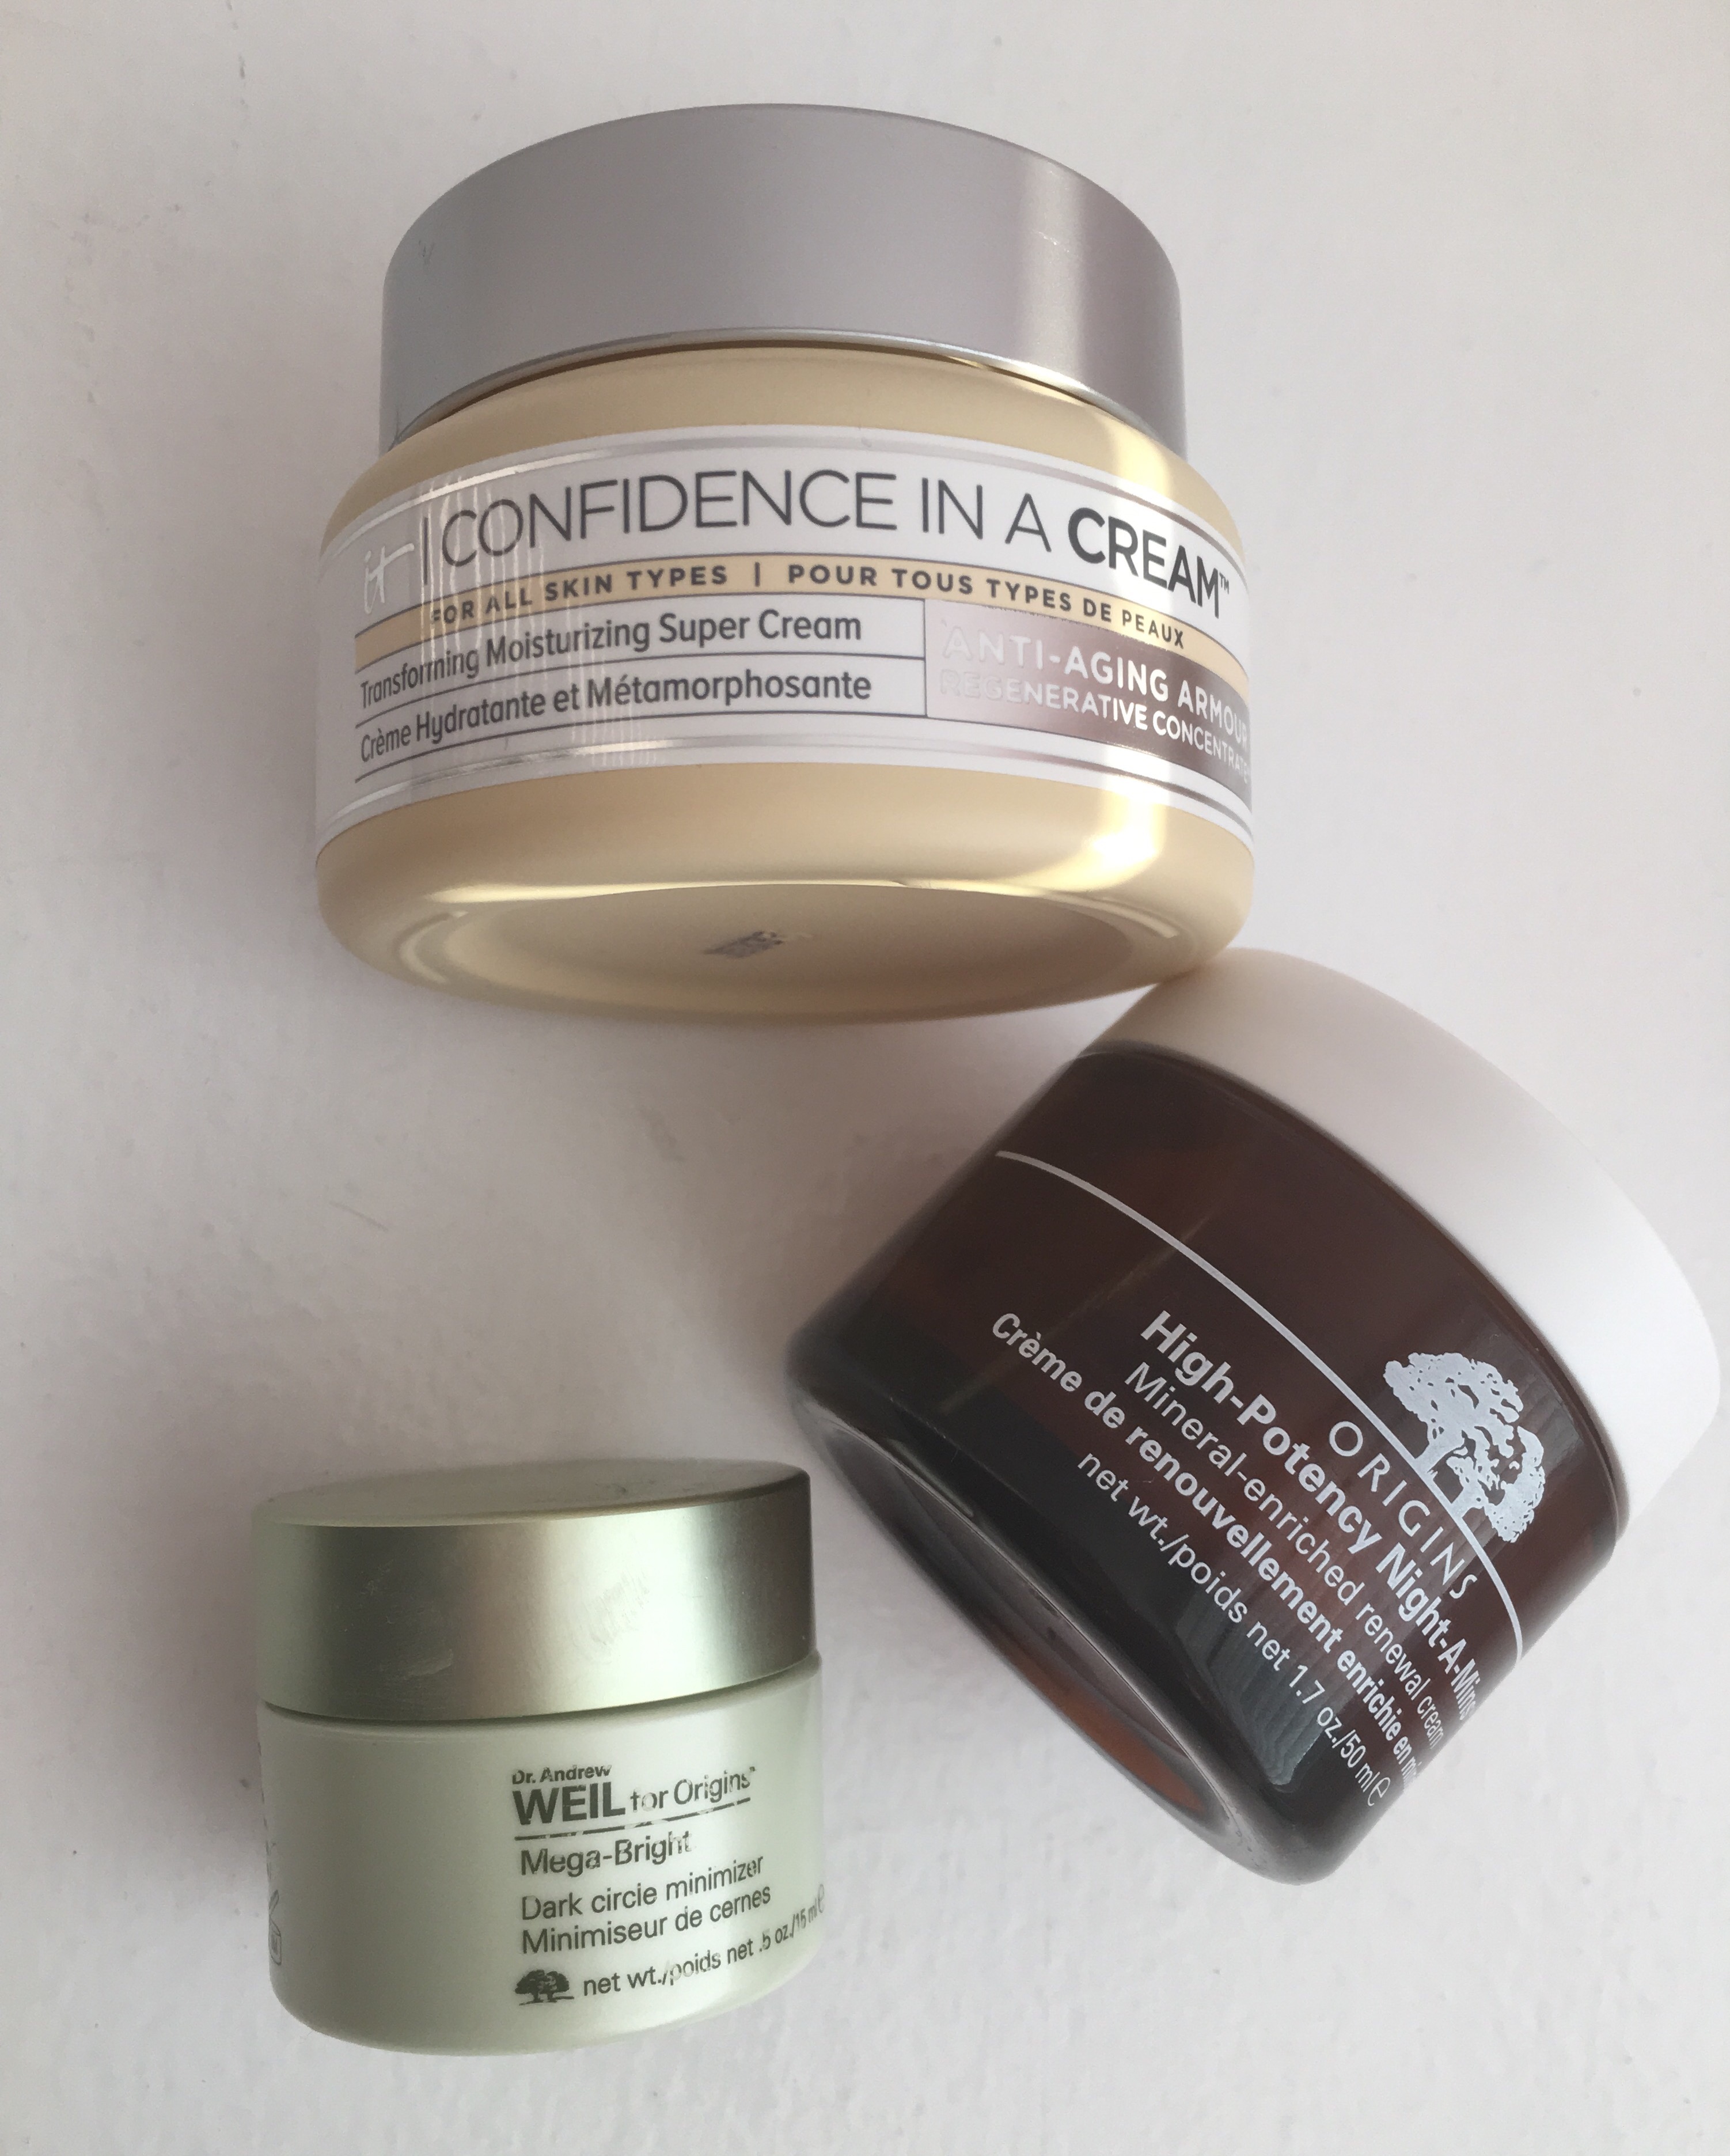
It Cosmetics Confidence in a Cream Transforming Moisturizing Super Cream, $48. Origins High Potency Night-A-Mins Mineral-Enriched Renewal Cream, $43. Origins Dr. Andrew Weil for Origins Mega-Bright Dark Circle Minimizer, $42.

After I cleanse my face and have completely dry skin, I begin to moisturize! For whatever reason, the second I get out of the shower, the skin on my face dries so tight! It’s borderline painful how dry my skin feels after cleansing, so I have to use a moisturizing cream in order to hydrate and plump my skin back up to normal. Right now, my absolute favorite mouisturizer is the It Cosmetics Confidence in a Cream Transforming Moisturizing Super Cream! I feel like this is really different from other night creams because its intensely hydrating without feeling greasy! Your skin will look noticeably more youthful because it gives so much added moisture to your face! I love taking this product down my neck and décolletage to make sure that skin does not wrinkle or look aged! I think this night cream would be amazing for skin of any age. I also think you would love this if you have a skin type of combination to dry. If you have oily skin, I do think you may find it to be too heavy and thick! However, if you do suffer from oily skin, I have a great nighttime moisturizer for you too! A major misconception among those with oily skin is that they should not use a night cream because their skin produces so much moisture already. This is false! Whenever you have an oily skin type, it typically is derived from your skin not recieving enough moisture, so your glands produce excess to make up for the amount its missing! My best suggestion would be to use an oil-free night cream formula that is non-comodegenic (will not clog pores) so you are recieving just the right amount of hydration. My favorite oil free moisturizer is by Origins. The also comes in a form that is not oil free, so make sure you read the packaging closely. I have fallen in love with both formulas and truly believe they deliver on every claim they make. 


Now for eye cream! Okay so this is an area I may need help in… As you may know, dark circles are a major problem area for me. Not a day goes ny where I dont need concealer. It is that bad. So of course I am trying to find a holy grail dark circle diminishing eye cream! The one I am using right now is really nice, but I’m not sure if it’s actually working. I love the fact that it’s non-greasy and hydrates my under-eye area, however I have not noticed a difference in lightening my dark circle area. So I wanted to show you what I am using, however it is not a product I am wow-ed by or want to recommend. So if you have an eye cream that you love and think would work for me, please let me know!

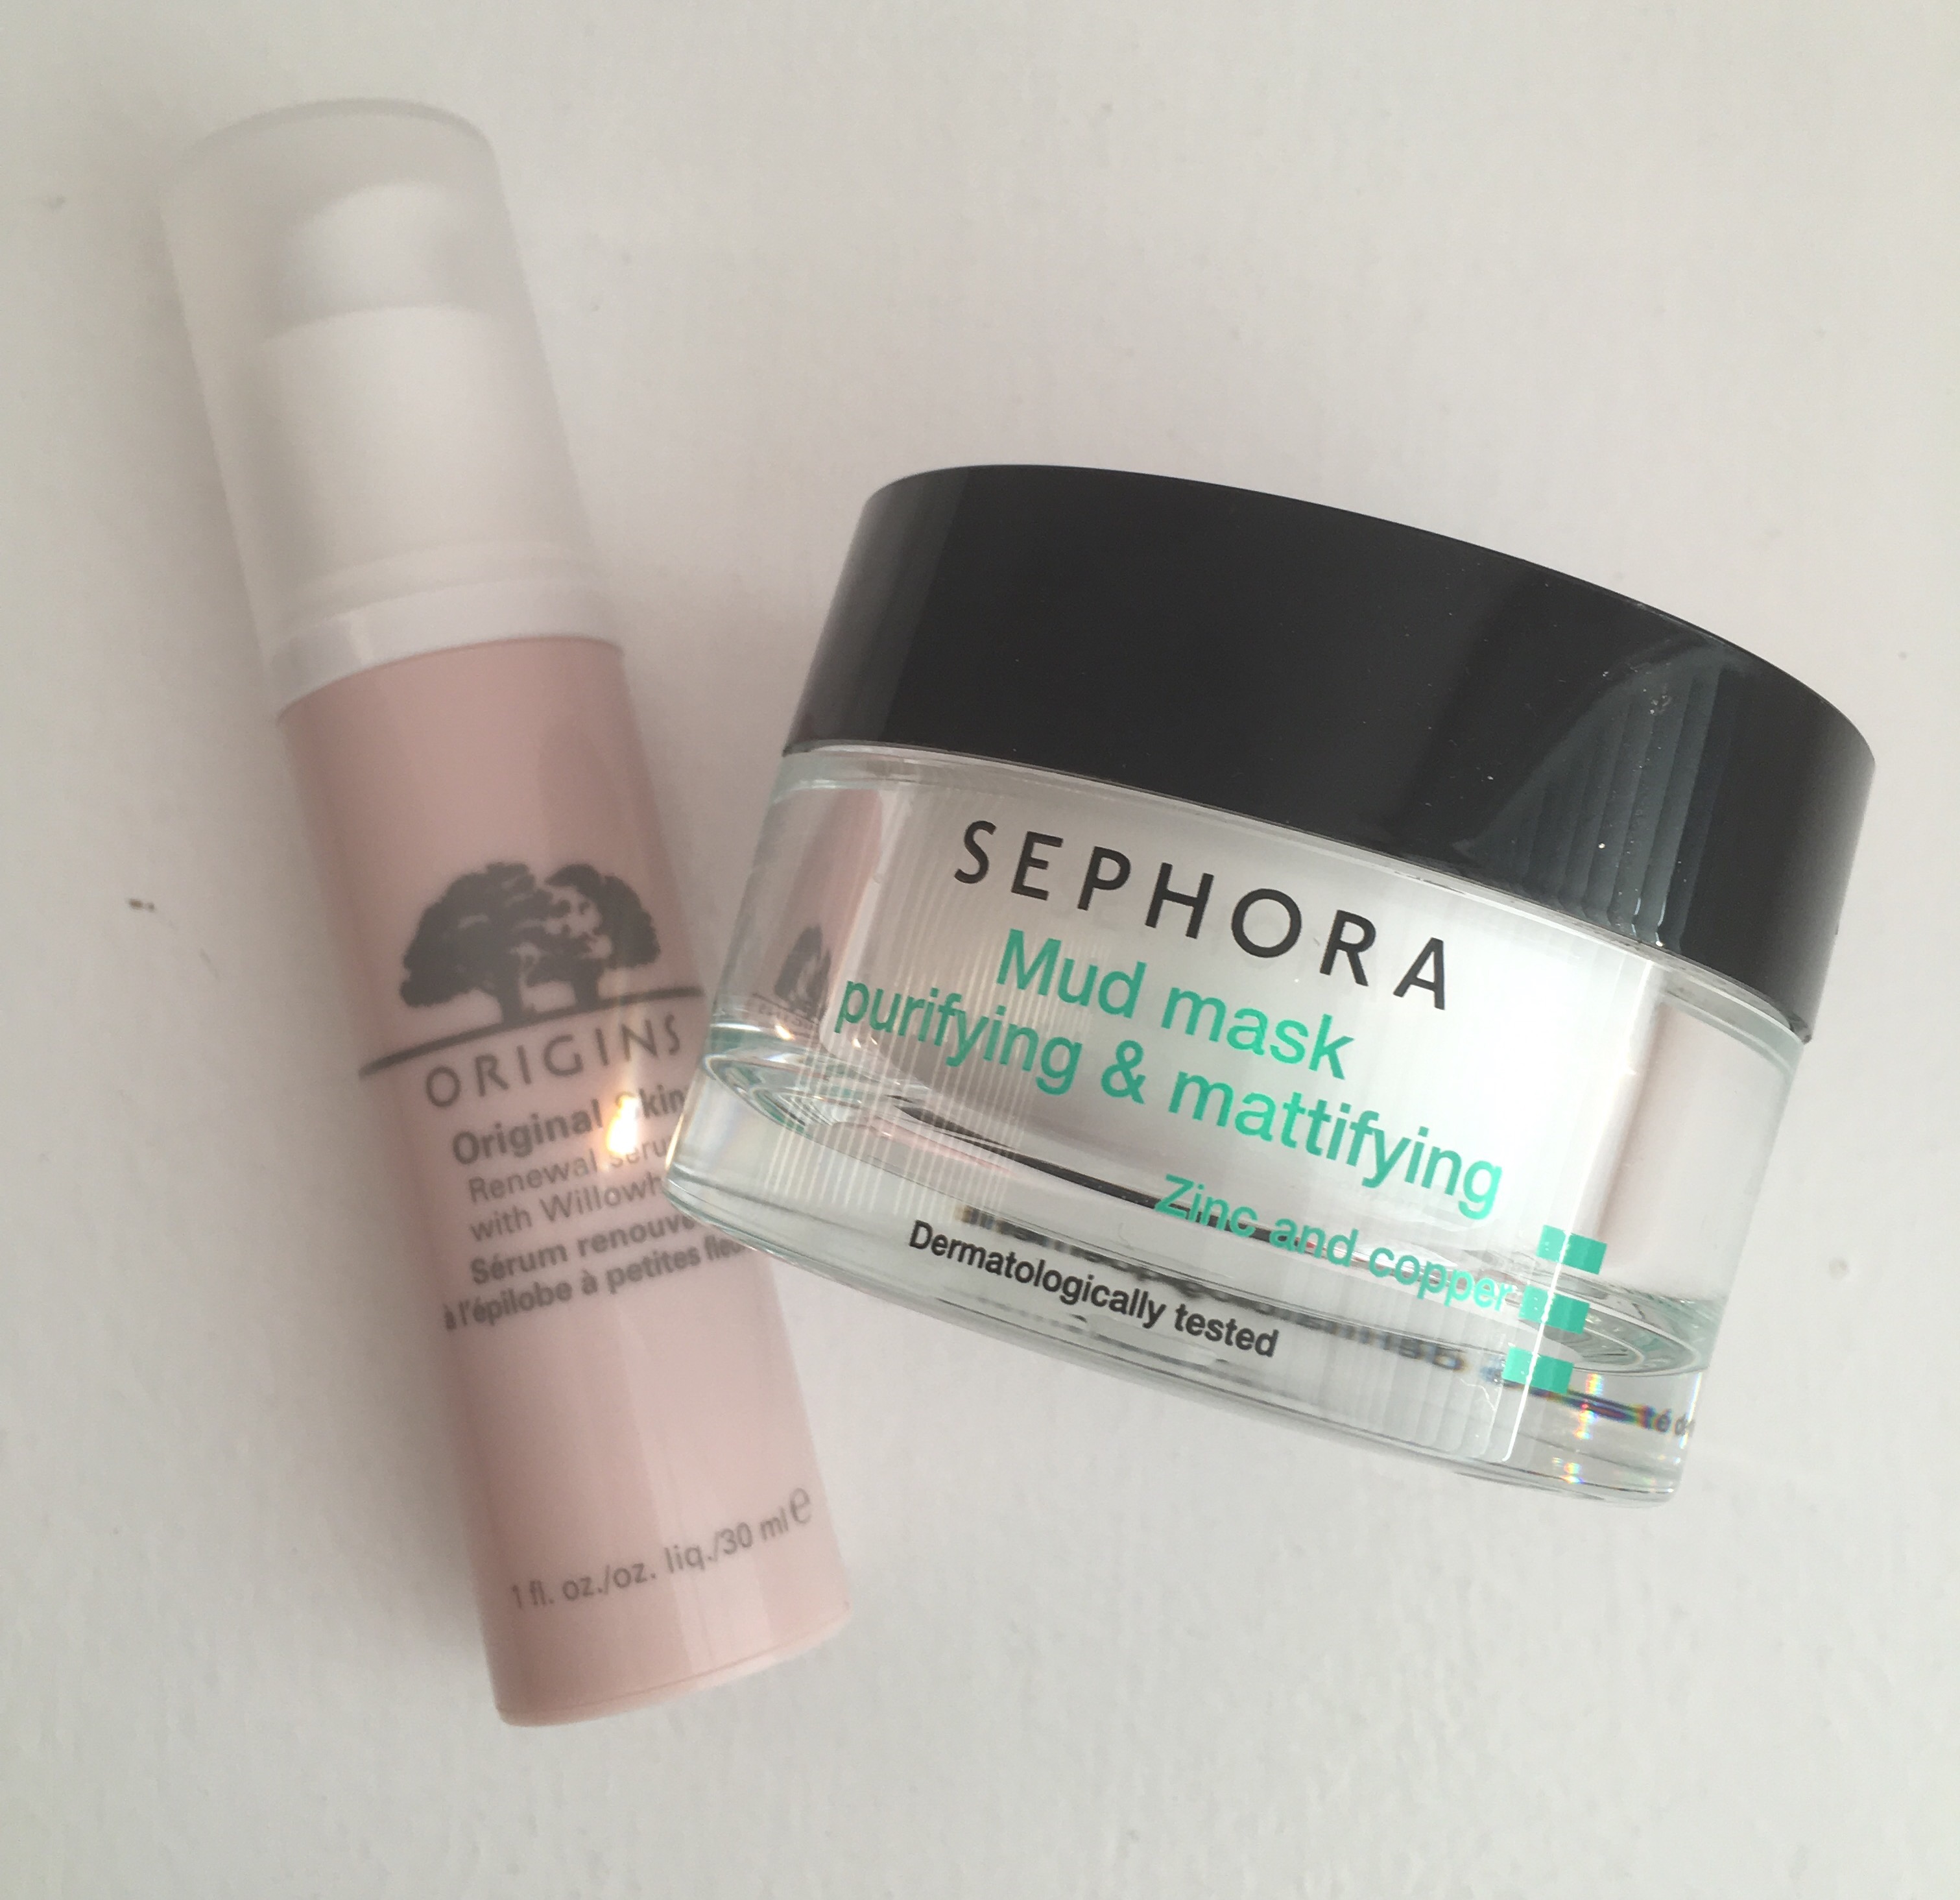
Origins Original Skin Renewal Serum with Willowherb, $39. SEPHORA COLLECTION Mud Mask Purifying & Mattifying, $20.

I love these two products to use every 2-3 days! The first is a serum that is all natural and fixes the texture on your skin. Any small bumps or dry patches are diminished by placing this product over your night cream. I’ve also seen this product make a significant difference in the size of my pores! I love that this product works perfectly in conjunction with the rest of my skincare products and compliments my skin type perfectly. The mask from Sephora is supposed to be a dupe for the Glam Glow Super Mud Mask! I definitely do think these two are comparable! It’s a zinc and copper mud mask that unclogs pores and fades the appearance of blemishes. I personally don’t use this product all over my face and prefer to do a spot treatment application on any bumps or acne I feel that’s coming on! It is a miracle worker and dries up any blemish in one night! It also fades the look of acne scarring, which is really helpful if you have sensitive skin like me and find a lot of fading products break you out! 
Thank you so much for reading this post! I wanted to mention that all of the products I use are Paraben-free! If you have any really great, all-natural skincare favorites, please let me know! I really am in desperate need of a new dark circle diminishing eye cream, so help me out! 😂 Also I really want to do a morning skin care routine, so leave me a comment if you would me interested in that too! 

Creating A Subtle Look With Colorful Eyeliner

I really wanted to do a post on how I wear colorful eyeliner in the most subtle way. Sometimes I want to go out of my comfort zone with makeup, but personally do not feel very confident when I’m wearing bright, attention grabbing looks on a day-to-day basis. If you are like me and want to experiment with a unique eyeliner color, like blue or purple, but also want to keep the overall makeup look understated, then keep reading! 


To start off this makeup look, I begin with my face. I like to make sure that my skin looks as flawless as possible, so my eyes will pop. Of course I use a primer and a full coverage foundation to give myself a smooth, even canvas for my powder products to lay nicely on. I then try to use soft colored blushes and bronzers so my face appears to be the most natural part of my makeup. I find that when you have multiple attention grabbing elements on your face (dark eyeshadow, bright lips, shimmery blushes) you can sometimes overpower the entire look, making it hard to concentrate on your natural features, while appreciating the area you are emphasizing. On my lips, I used a matte, nude liquid lipstick from ColourPop to stay cohesive with the natural vibe I’m going for with this look! 

   
Once you have your face completed, it’s time for the fun part; the eyes! If I’m doing a bold, colorful eyeliner look, I make sure to keep the eyeshadow neutral and understated. I find that this technique makes the eyeliner pop because it stands out when placed on a blank canvas. I usually choose a light, matte eyeshadow color to place all over the lid and blend a neutral tone shade into my crease for slight definition. Next is the fun part! The blue eyeliner I used in this look was in a pencil form so I simply drew a line on my upper eyelid and then a slight wing off of the end. Lastly, I used the mascara routine that I posted about in April, to give my eyes added definition! 

Too Faced, Peanut Butter & Jelly Eyeshadow Palette, $36. ColourPop Creme Gel Liner, In the shade: “Prance”, $5.


This colorful eyeliner look really does come across as understated and simple, even though you’re incorporating a unique color into your makeup. Whenever I wore this out, no one even noticed I was wearing blue eyeliner until I pointed it out! Also even though I used blue, I think you could use any color and it would look equally as cool! I think this periwinkle-blue shade is really beautiful for Spring, so that’s why I used it! 

    
Let me know how you like to incorporate bright makeup products into a subtle look! I’m always looking to try out new ways to give my ordinary makeup a unique pop! Thank you so much for reading!

ColourPop Haul, Review and Swatches!

Who can say no to 20% off?! I sure cannot! When ColourPop was offering the discount site wide a few weeks ago, I decided I had to take advantage of such a good deal! Not only is their non-discounted price point extremely inexpensive, but combined when combined with an additional percentage off, this was a deal too good to pass up! 

Molly, Naked Ladies, Magic Wand, $6.


I really wanted to try their new Ultra Satin Liquid Lipsticks after hearing that they are matte without feeling dry. My biggest complaint with regular liquid lipsticks are the dry, chalky feeling that typically happens to me within the first hour of wear, hence the reason I was so attracted to this formula. As soon as I put this on, I immediately noticed how comfortable it felt on my lips. It is a mousey consistency that had a whipped texture even when it has “dried down.” I tested all three colors and was pleasantly surprised that the nude shade, as well as the two vibrant shades, both applied evenly and highly pigmented. I did wear these with a ColourPop lip primer too and noticed that this prolonged the wear time. I was able to eat and drink without this product breaking up in an obvious way on my lips. I was also pleasantly surprised to see that this particular formula stained my lips so even after it had completely worn off, I still had a hint of color left. I would highly recommend these to anyone that dislikes that drying, flakey feeling that is all too common with liquid lipsticks, but love the look of a matte formula. Also they have an extensive color selection with shades that range from natural to bold, so you’re bound to find one you like! Safe to say, I’m ordering more of these!

Swatches from left to right: Naked Ladies, Molly, Magic Wand.

Honey Dude, Prance, $6.

The other new product I tried for the first time are the creme gel eyeliners! I purchased the periwinkle-blue color “Prance” as well as the nude shade “Honey Dude” to give me a good balance between natural and edgy! I’ve been seeing lots of looks using colored liners in the water line and as winged liner, so I’m excited to experiment with the blue shade for summer! I’m always using a nude eyeliner in my waterline on a daily basis because I love a wide-eyed look! I’m loyal to my Tarte Inner Rim Brightener, so this ColourPop one has a lot to live up to! I’ve worn it for the last two days and although I don’t think it’s the best…it’s definitely not bad! For the price, it’s great! I just do have a hard time with it staying on my water line. Maybe it’s because it’s allergy season and my eyes are constantly watering, but the nude shade was really difficult to keep pigmented and bright in my waterline. As for the blue shade, “Prance,” this color lasted beautifully in my waterline all day long! It remained vibrant and true to color for the entire day and I received so many compliments on the unique pop of color! I really want to do a tutorial on the look because I think it was different and perfect for people who want to try something on trend for summer, but also want to keep the overall look very wearable and subtle.  

Swatches from left to right: Honey Dude and Prance.


Tassel, Girly, Alchemy, Sunset Blvd, $5.


Lastly, I purchased four of their eyeshadows because I’m addicted to these! I’m finding that they’re all I wear because they’re so pigmented and sparkly! I really love the look of just a wash of shimmery shadow on the lids with mascara for summer! I think this method emphasizes my eyes without looking overdone. I will give a disclaimer that these shadows really need to be worn with a primer during the spring and summer months when makeup products tend to break up and transfer from sweat or excess oil. My favorite primers to use with these shadows are M.A.C 24 Hour Extended Eye Base and Urban Decay Primer Potion in “Eden.” If I forgo a primer, sometimes these shadows transfer from my eyelid and into my crease area. This process can take my once neat and blended eye look into a messy, creasing catastrophe. Onto the shades that I purchased! “Alchemy” is listed on the ColourPop site as a translucent peachy tone, sprinkled with multi-dimensional glitter and is labeled as a Glitter Sheer finish formula. I would definitely agree with this description. The shadow is essentially all sparkles with a natural colored base. I think this would be beautiful with very bronzed and highlighted skin and a bright red lip. Next is “Sunset Blvd,” which is a shadow from their recent KaePop collaboration with Karrueche. This shade is described as a warm golden bronze in a Pearlized Finish formula. I think the color of this eyeshadow is super pretty and subtle. On my skin tone, it shows up as a shimmery wash of color and looks natural enough for daytime. I really like this for an easy, every day shadow because it provides definition without being in-your-face. I feel like this would be a great color to add to anyone’s collection because it is so beautiful and will match any face and lip product you pair with it. Next is “Tassel,” which is a bright, true white with multi-dimensional, highly reflective glitter. I got this color because I thought it would be perfect for a bright inner corner highlight. By adding a white or light colored shimmery shadow to your inner corners, it will open up your eyes and make you appear more awake! So far this shadow is beautiful to serve that purpose. It is very stark white with major glitter, so I can’t imagine wearing it all over my lid and not looking like an ice princess. It looks great in the inner corner and lightly applied underneath the brow bone! Last, but not least, is “Girly” and it’s described as a warm golden bronze in a Pearlized Finish. I definitely don’t see anything bronze about this eyeshadow, but would agree that it is a very warm-toned, cream shade with golden shimmer. I think this color would look gorgeous on lighter skin tones that want a simple shadow to apply all over the lids for a natural look. I applied this shadow all over my lids, with a matte, warm brown shade in the crease and winged eyeliner, and was still asked multiple times what my eyeshadow is! So “Girly” does stand out even in a simple look. 

Swatches from left to right: Tassel, Girly, Sunset Blvd, Alchemy.


I really hope you try out some ColourPop items after reading this! Hopefully I gave you some good ideas on new products to try out! I would highly recommend the new Ultra Satin Liquid Lipsticks because they are really easy to apply and give you an on-trend lip look, without spending a ton of money! These are by far the most comfortable liquid lipsticks I have ever tried in any price point, so you need them! Plus they have so many unique colors so you can try something new! Thanks for reading! 

How To Get A Gel Manicure For Only 5 Bucks!

I am someone who loves the look of a gel manicure, but despises the act of going to a nail salon for an hour to get them done. So instead, I have searched high and low for nail polish formulas that claim to give the same effect without an LED light. I have tried expensive gel formula polishes from Sephora and Ulta, but I’ve also tried some drugstore brands as well. Before this point, my favorite line of polishes were the O.P.I Infinite Shine Gel Effects Lacquer Collection. The formulation on these polishes are really creamy and only need 2 coats to be completely opaque. However, at $12.50 a bottle, you can easily spend the same amount trying out a few colors than on a single gel manicure. Thus my attempt to find cheaper alternatives at the drugstore. 

    
Wet N Wild isn’t a brand I’m personally too familiar with, but I’m always hearing different YouTuber’s and bloggers talk about. I saw the display for their Wet N Wild 1 Step WonderGel Nail Color and was intrigued by the advertised claims. You can find on their website that the details of these polishes are, “Up to 2 weeks of color & shine based on consumer grading. No UV Light Required. No Harsh Removal. 3-Free! No Formaldehyde, Toluene, or Phthalates!” So after seeing these impressive claims, I decided to pick out some colors! Out of the 18 shades in the collection, I chose my 5 favorite to test the formula. I also want to mention that at only 5 bucks a polish, you can really try out a lot of colors without breaking the bank. Whenever I bought mine at Rite-Aid, they were 40%, which was such a good deal! I highly recommend doing your research on weekly drugstore deals and waiting until you can get them for even cheaper than the standard price. 

Wet N Wild 1 Step WonderGel Nail Color. Colors from left to right: Lavender Out Loud, Stay Classy, Pinky Swear, Condensed Milk, Peri-wink-le Of An Eye, $4.99.

    
These Wet N Wild polishes are SO GOOD! By far the longest lasting nail polishes I have ever tried. Typically nail polishes, regardless of their long lasting formulas, chip within 2-3 days for me. However, these last for about 5-6 days before showing any signs of wear or chips. I would say they last close to 2 weeks until I personally get to the point where I want to either change my polish color, or they’ve grown out and look unkempt. Also keep in mind that since I’m a germaphobe, I’m always washing my hands and using sanitizer and this formula still withstands it all! 

     
So another pro to choosing this polish is the quick dry time! I would say that after I have applied the second coat of polish, it takes my nails a total of 15 minutes to dry completely! For me, this is really impressive because sometimes with other polishes, I wait 30 minutes to dry and find out that they’re still tacky feeling! So yes, these dry all the way extremely quick, which I appreciate very much. 

      
Lastly, these polishes are all you need for a shiny, even coated manicure. Forget about a base coat and a top coat with this product because you do not need one! These polishes are awesome on their own and I have seen no visible difference in the way they apply or perform when using a base coat or a top coat. 

Lavender Out Loud, Stay Classy, Pinky Swear, Condensed Milk, Peri-wink-le Of An Eye

     
I really hope you try some of these Wet N Wild 1 Step WonderGel Nail Color polishes! My favorite colors are Stay Classy and Peri-wink-le Of An Eye. I definitely want to expand my collection, so let me know your favorite shades too! Thanks for reading! 

Kat Von D Shade + Light Eye Contour Quad in “Sage”

During my most recent trip to Sephora, I decided to purchase the new Kat Von D Shade + Light Eye Contour Quad in Sage. Although some of the other shade selections were more aesthetically pleasing to me, I wanted to go out of my comfort zone and pick the Sage quad, which has shadow colors that supposedly compliment brown eyes.    

Kat Von D Shade + Light Eye Contour Quad, Sage, $26.


I want to start this review out by stating how beautiful these eyeshadows are. Whenever I first swatched these shades, I was in disbelief at how smooth they felt. The texture is really silky and buttery, which is rare in a matte eyeshadow! These shadows are incredibly pigmented as well. You can see in the swatches above that these shadows do not look chalky or patchy on my skin. The colors are unique and beautiful, I have nothing like the dark green shade in the palette and really loved the way it is borderline black. This makes it super wearable and adds a unique effect whenever applied into the outer corner or as eyeliner. 


I think this palette is versatile enough to be used on a daily basis for a natural look. The base shade is a warm tan color that is perfect for all over the lid. It gives definition, without darkening your eyes in an unnatural way. As you know, I love the definer shade, which is a hunter green color. It really is so unlike anything else I own and I think it does bring out my brown eye color. The contour crease shade is a gray toned, olive green. It looks beautiful to blend out any harsh lines above the lid. I also think this color would look really beautiful as a base shade. Lastly, the highlight is a cream shade that ties the entire look together when applied underneath the brow and on the inner corner of your eye. Although the look I created in the photo is more daytime appropriate, I can see this palette being amazing for smokey eyes by using the dark green definer shade all over the lid. I really love that you can create an entire eye look by using the colors solely in this palette. It’s nice for travel because it’s compact in size and gives you multiple options for natural or glam looks! 

I am really excited to continue using this product and try out the other Shade + Light Eye Contour Quad in “Rust,” “Smoke” and “Plum.” Have you ever tried any of these before? Let me know which ones are your favorite! Thanks for reading! 

P.S. I created Facebook and Instagram accounts! You can find either accounts by searching “Abigail Lindsay Blog” yay! 

The Magical Beauty Blender 

I decided to post about my most used makeup tool; the one and only, Beauty Blender. I know you’re thinking, “What is so special about a sponge?” Well for starters, it can be used multi-purposely with foundation, concealer, cream bronzers and blushes, basically any liquid product! This particular makeup sponge is specifically designed to be used dampened. I place the Beauty Blender underneath running water and squeeze it in my hand for about 20 seconds while it absorbs. You will see that during this process, the Beauty Blender noticeably expands in size.    

BEAUTYBLENDER, $20.


Also we can address the fact it’s $20 for a sponge. Like yes, it blends out every product on your face flawlessly, but it is just a sponge…right? Well in my opinion, this really is different than any makeup brush or application tool that I’ve tried! Since using this product, I have noticed that my makeup looks more blended and natural in person and in photos. For me personally, a beauty tool that I can use with many different makeup products and gives an airbrushed appearance to my skin, is certainly worth $20. 

Before dampened with water and after.


The greatest aspect of the Beauty Blender is its ability to sheer out products. By using this product damp, it prevents foundation from caking up and looking patchy because it removes all excess product. If you pat it underneath your eyes to blend out concealer, it will create a crease-less and youthful effect. Also if you want to set your under eyes with powder, but find that it typically dries up on this delicate area, you can place your Beauty Blender in the powder and set your concealer flawlessly. I also use this to blend out my cream contour and highlight! It makes harsh lines, melt seamlessly into my skin. 

I continue to purchase a new Beauty Blender every six months, regardless of the semi-ridiculous price tag. I feel that after 6 months, the sponge does begin to dry out and not bounce on the skin as well. After I bought my first Beauty Blender, I had a difficult time researching the proper way to wash it. It is recommended to use the Beauty Blender brand liquid or solid cleanser, but it’s kind of pricey for the small amount of product you receive and for how much you use it (I wash my Beauty Blender every other use.) I scoured Pinterest for a duplicate of the ingredients featured in that particular formula and found there’s an even better, less expensive, all-natural formula that you can find at the grocery store!? 


Dr. Bronner’s Pure Castille Soap, $4.99.


Let me introduce you to Doctor Bronners Pure-Castille Magic Soap! I have the Lavender version, but there are other scented options you can purchase as well! This soap completely erases all traces of leftover makeup that will stain your Beauty Blender. I have tried the solid and liquid versions of this soap and enjoy both formulas! I choose to repurchase the liquid version for sanitary reasons. This soap also works amazing on makeup brushes too! 

I really hope you try both the Beauty Blender and the Dr. Bronner’s Magic Soap and let me know how much you love these products! Also if you are already using the Beauty Blender as much as I do, let me know your favorite makeup product to use with it!